A puppet show shadow box is a fun activity to do with your kids all year round! All you need to start is a cardboard box, parchment paper, stick figures and a little imagination.
Things You'll Need
Parchment paper
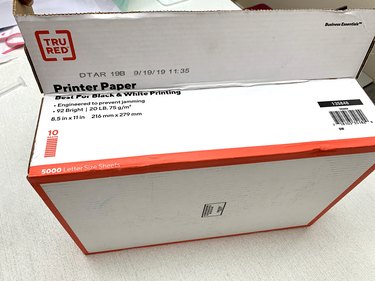
Copy Paper Box
Box Cutter/Scissors
A Marker
Tape
Wood Dowels, Popsicle Sticks or Straws
Black Poster board
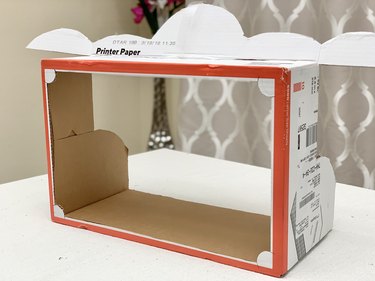
Step 1: Make Puppet Window
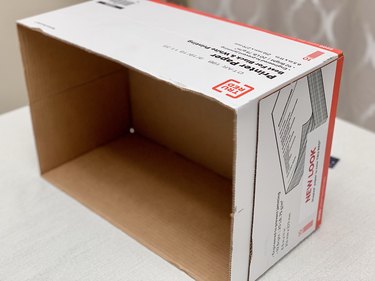
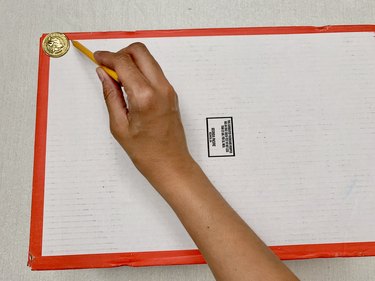
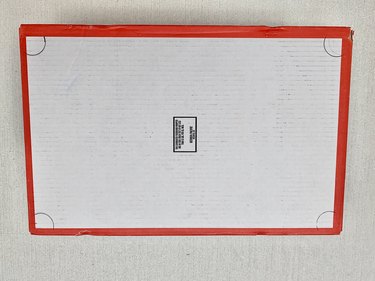
Place your box so the bottom faces up. Draw a rectangle leaving a half inch border around the edges. Use a quarter to draw half circles at each corner.
Video of the Day
Cut out shape using a box cutter.
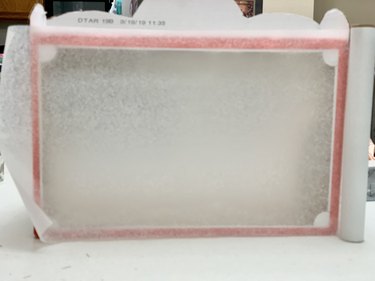
Cover the window with a piece of parchment paper that's a half inch larger than the window and tape it down.
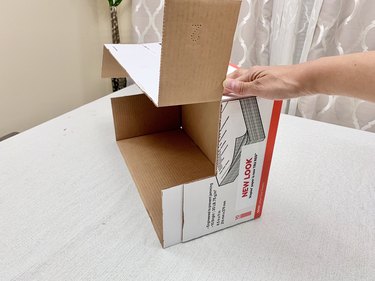
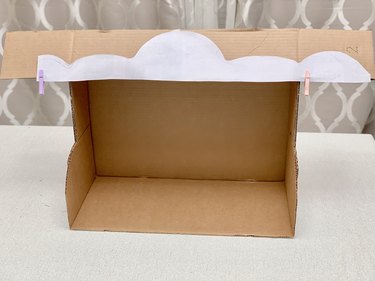
Step 2: Construct Box Top
This step is more about showmanship and design. When crafting the top of your box, think of the shape of a theater marquee sign or something fun and whimsical. Along the seam of the box, measure about 4 inches from the top, make a line and cut until you reach top of the box. Repeat on the opposite side.
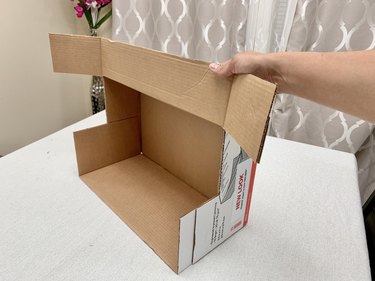
Fold the top flap backwards to create a new seam along the top of box.
To make the design, use a marker to trace the shape along the top of the flap and cut it out with scissors or a box cutter. You can also draw and cut it out of a separate piece of paper, tape it onto the flap and trace/cut it from there.
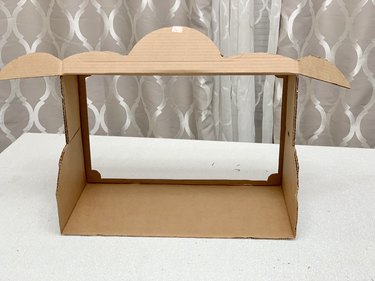
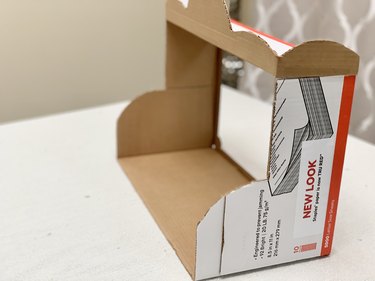
Then fold the two end pieces into the box and attach by taping them to the side. Color or decorate to your liking.

Step 3: Draw and Cut Out Puppets
The puppet show is almost ready to begin! The theater is complete and now we just need the puppets. With your story in mind, trace images using a white marker, chalk or colored pencil onto black construction paper and cut them out. Cookie cutters or molds from a play-doh set work well for these characters.
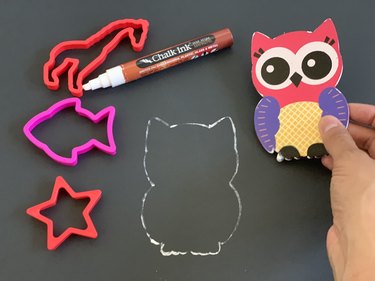

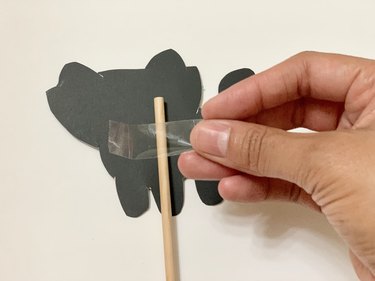
Attach a wood dowel to the back of each puppet shape with tape. Now we are ready to get this show on the road.
Tip
Black paper works best to create the shadow effect to show images through the parchment paper. You can also download free shadow box puppet templates online to cut out if you prefer not to make your own.
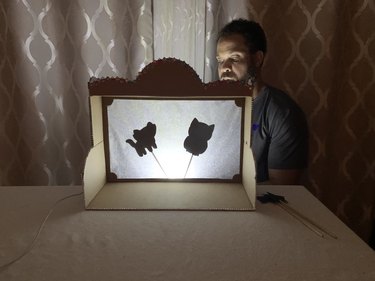
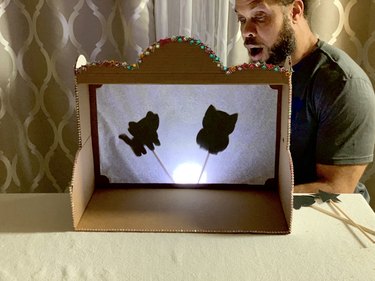
Step 4: Let the Show Begin
Place your theater box on a low table so the little ones can reach it easily. Light the back of the box with a flashlight and bring your puppets into frame placing them directly behind the parchment paper screen. Turn off the lights in the room and enjoy the show!
Video of the Day