eHow may earn compensation through affiliate links in this article.
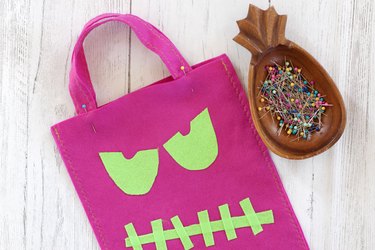
The front porch is decorated, pumpkins are carved and costumes are made. Now it's time to create some delightful, felt trick or treat bags for your scary little ghosts and goblins. Made from sheets of craft felt and a little iron-on fabric adhesive, the designs are as unlimited as your imagination. No need to be afraid of this project — you'll be doing the Monster Mash when you see how quickly these bags come together.
Video of the Day

Things You'll Need
3 pieces of craft felt for bag and straps
Pins
Paper
Sharp scissors
Coordinating felt for eyes and mouth

Step 1
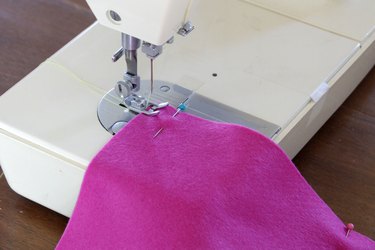
Place two pieces of craft felt together. Pin and sew two sides and the bottom with a zig zag stitch. Be sure to remove the pins as you sew. Backstitch at each end to secure the stitches. Leave the top open.

Step 2
Place the sticky side down onto the felt and press for 6 seconds to adhere the adhesive to the back of the felt.

Step 3
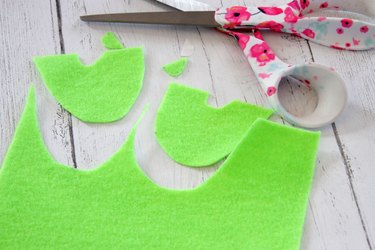
Create a pattern for the eyes and mouth using a piece of heavy paper. Place the pattern onto the felt and trace around it with a disappearing ink pen. Cut out the eyes and the mouth with a sharp pair of scissors.
Tip
If you don't have a disappearing ink pen, you could trace the pattern onto the back side using a regular pen.

Step 4
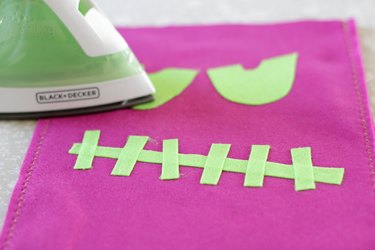
Peel the adhesive backed paper from the back of the felt. Place the sticky side of the felt down onto the bag and position the pieces where you would like them to be. Use a hot iron to adhere the eyes and the mouth to the front of the bag.

Step 5
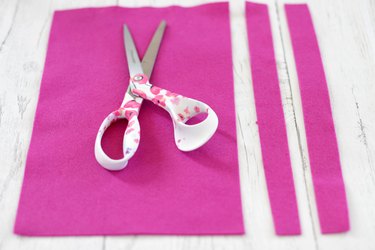
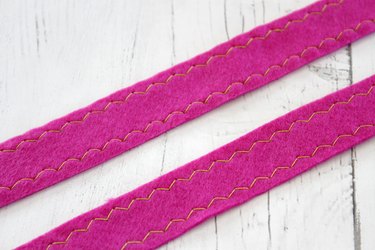
Cut two 1 x 12-inch pieces of felt for the bag handles. Use a zig zag stitch and contrasting thread to sew around all four sides of the handles.

Step 6
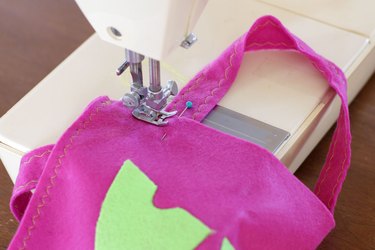
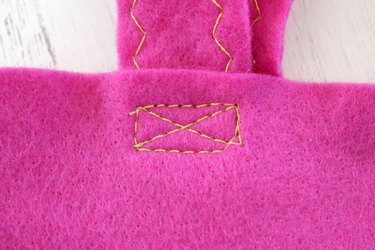
Pin the ends of the handles to the inside of the top of the bag. Attach each end by sewing a small rectangle with an X in the middle.
Happy Halloween!