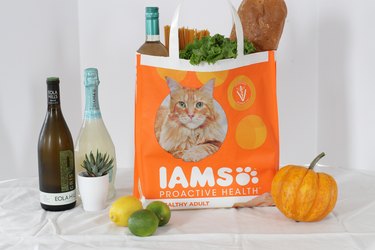
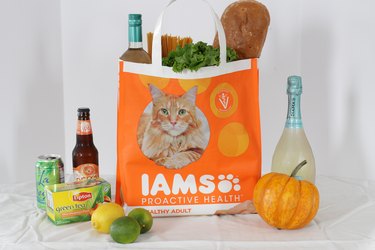
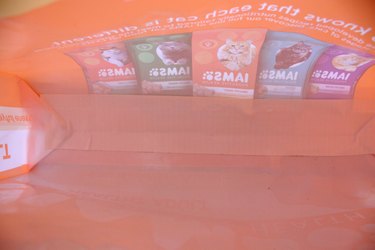
If you've been looking for a creative way to get closer to your zero-waste goals, look no further than your empty dog and cat food bags. Instead of throwing these little gems into the landfill, use them to create your own cute reusable grocery bags. And since more and more states are jumping on the bandwagon to ban single-use plastic grocery bags, we're all going to need to be more prepared and show up at the grocery store armed with our own bags. Why not be stylish and responsible? Double reuse score!
Things You'll Need
Video of the Day
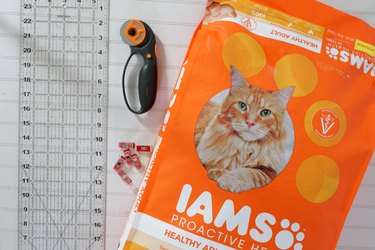
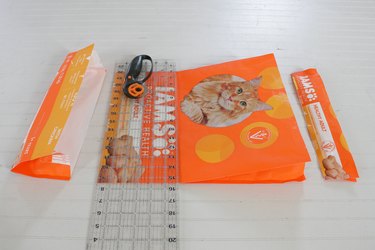
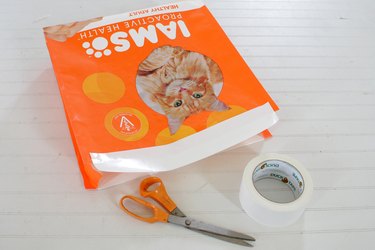
- Empty pet food sack
- Rotary cutter and straight edge
- Coordinating duct tape
- Sharp scissors
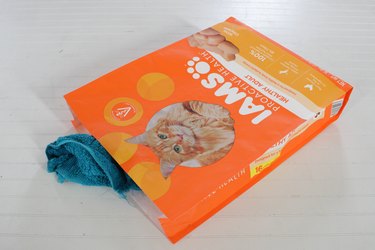
1. Use a damp cloth to clean
Use a damp cloth to clean out the inside of your empty feed sack.
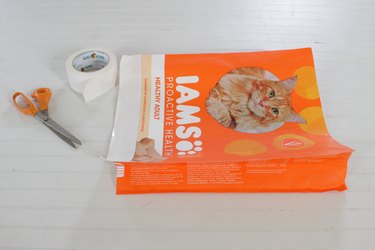
2. Cut off the top and bottom of the bag
Cut off the top and bottom of the bag to your desired height and design placement.
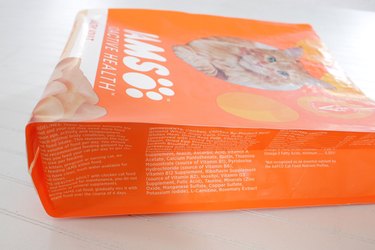
3. Cut a piece of coordinating duct tape
Cut a piece of coordinating duct tape that is the same width of your bag. Place the strip of tape across the bottom of the bag and wrap it around to the back of the bag to close and seal the bottom edge of your bag.

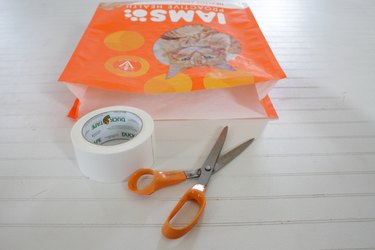
4. Tuck in the bottom sides
Tuck in the bottom sides of your bag.

5. Place another strip of tape across the bottom
For extra bottom reinforcement, place another strip of tape across the bottom on the inside of the bag.
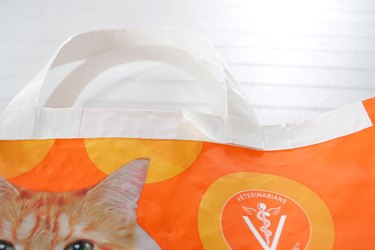
6. Cut tape the same lengths as the top edges
Cut tape the same lengths as the top edges of your bag. Place the tape along the top edge and fold down over the top of each edge. This will give your bag extra strength and keep it from stretching out.
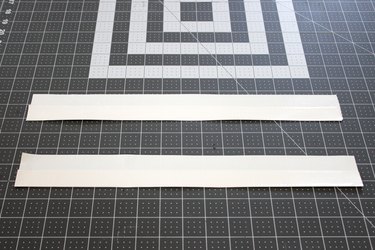
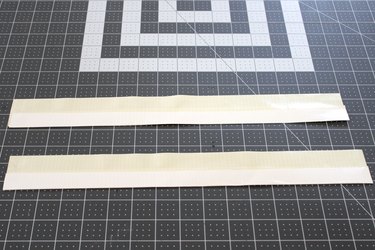
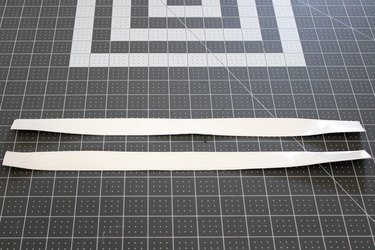
7. Cut four 17-inch pieces of duct tape
To create the handle straps, cut four 17-inch pieces of duct tape.

Turn two of the pieces so the adhesive side is face up. Leave two pieces adhesive-side down.
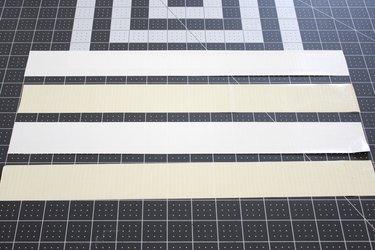
Place the face-down duct tape halfway across the face-up duct tape.
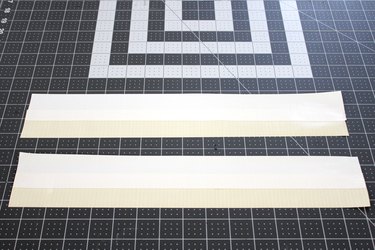
Fold the adhesive edges up on both sides to create two strong straps.
8. Cut two 3-inch pieces of duct tape
Cut two 3-inch pieces of duct tape. Cut each piece in half lengthwise to create four 1-inch x 3-inch pieces.
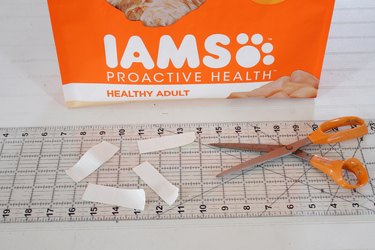
9. Attach the handle straps
Attach the handle straps to the top of the bag with the strips of duct tape.
Load up your bag and strut your responsible DIY stylish stuff.