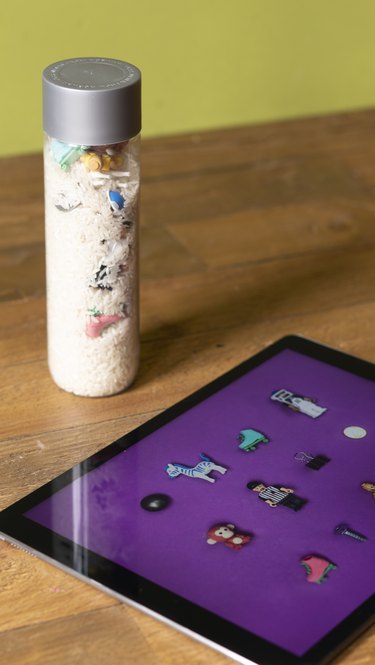
I spy an awesome DIY! Keep the kiddos entertained on road trips with this nifty take on the classic "I Spy" game. All it takes is a used plastic bottle, a bunch of small random items, and some uncooked rice to make a handy travel game that's fun for all ages. You can adjust the challenge level of the game according to the age of the person playing by making a few simple tweaks. Let's start!
Video of the Day
Things You'll Need
White rice as filler material (can also use beans, lentils or small beads)
Empty clear plastic bottle with removable label
An assortment of small random items that fit in the bottle (e.g. erasers, small toys, keys, coins, buttons, etc.)
Funnel (or piece of paper rolled into a cone shape)
Super strength glue
Digital camera or smart phone/tablet (optional)
Printer (optional)
Pen and paper
Step 1: Assemble Random Objects
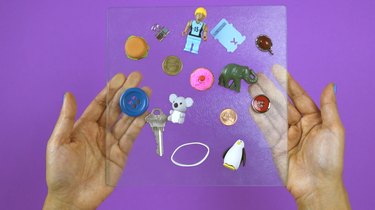
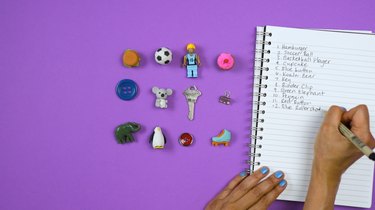
Finding objects for your bottle is loads of fun in itself, and your kids will love scouring the house for random stuff. You can literally use anything that can easily fit inside the bottle. We collected erasers in fun shapes, a binder clip, buttons, a rubber band, a key, a pendant, and a penny.
Tip
The smaller and more lightweight the object, the harder it will be to find within the filler material. Another factor to consider is the object's color(s) against the filler color. Sharply contrasting colors will be easier to spot. Keep these factors in mind when figuring out how challenging you'd like your game to be.
Step 2: Photograph Objects and/or Write a List
Before putting your objects in the bottle, you'll have to create a pictorial or written list of what's inside.
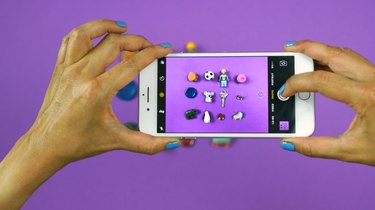
Depending on the age and reading level of the player(s), take either a photo of the objects with a camera/smartphone/tablet or write out a list. We took a photo and made a list to allow both older and younger kids (and adults!) to play at their skill level.
Step 3: Add Filler and Objects
Pay attention to this step, as there's definitely a right way to do this in order for your objects to be evenly distributed within the filler material (in our case, white rice). You'll basically add the filler and objects in alternating layers.
First, add about 1/4 cup of rice using the funnel or a piece of paper rolled into a cone shape. If using rice, we recommend white rather than brown as the latter is prone to going rancid.
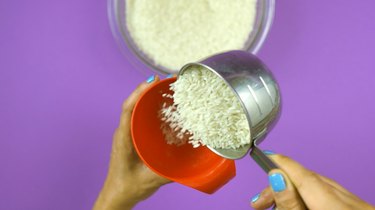
Next, add 1/3 of the objects into the bottle. The amount of objects you use depends on the size of the bottle. We had an 11 oz. bottle and used 12 small objects -- but you can use more if you'd like. Of course if you use a larger bottle, use more objects.
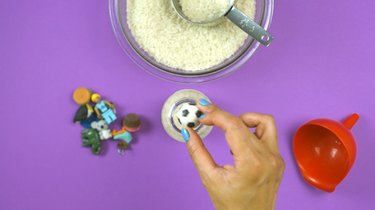
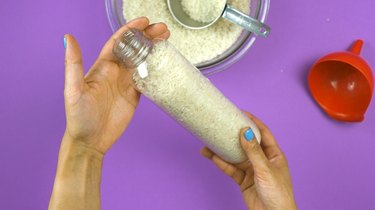
Repeat this layering process two more times so that all of the objects are inside and covered with rice. It's important that you leave a little bit of space at the top of the bottle so that there's room inside to displace the contents as you shake the bottle. If you fill it to the top, the objects inside won't move enough for you to see what's inside.
Step 4: Test It Out
Before sealing your lid permanently with glue, we recommend that you replace the lid and do a test run (that is, shake it up and start playing!) to see if you've got enough objects inside to suit your preferred game play. If so, move on to the next step. If not, adjust contents as needed.
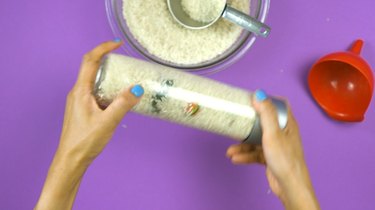
Step 5: Seal Lid to Avoid Spillage
To prevent a spillage disaster on the road, we recommend permanently sealing the bottle. To do so, simply apply super strength glue all around the threaded portion of the bottle and replace the lid.
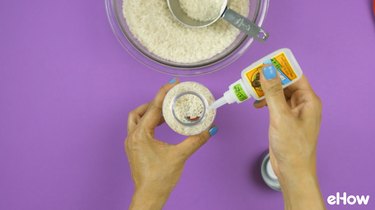
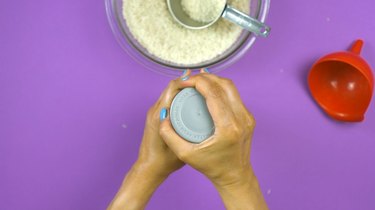
All finished!
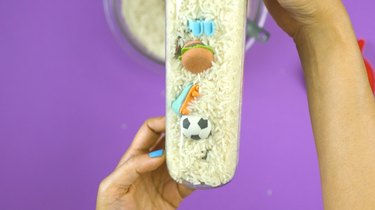
Game Play
If your player can't read yet, you can either print out the photo, or have the player simply use a smart phone or tablet as their "I spy" guide.
For older kids, you can challenge them to find objects on a written list.
Game Alternatives:
To make it an even more challenging game, write out clues instead of naming the objects. For example, instead of "hamburger," write: "popular fast food item."
You can also make it a timed game by challenging the player to find all the items within a given time limit.
Make it a competitive 2-player game by making two bottles and seeing who can spy all the objects the fastest.
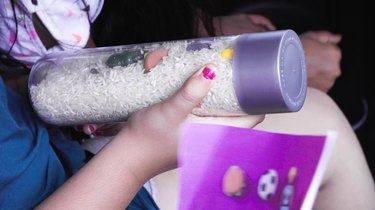
Aside from being a fun travel game, both making this project and playing it would be a terrific rainy day activity for antsy kids.
