eHow may earn compensation through affiliate links in this tutorial.
Having trouble opening your favorite jar of peaches, jam or spaghetti sauce? We've got you covered with this handy DIY jar opener. All you need is a small, repurposed scrap of rubber shelf liner, a pretty piece of fabric to match your kitchen decor and the ability to sew a straight line. So, if stubborn jar lids are on your list of kitchen pet peeves or if you've been looking for a fun way to use up some fabric scraps then this project is for you.
Video of the Day
Things You'll Need
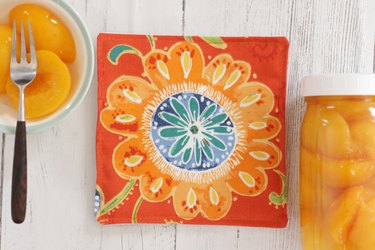
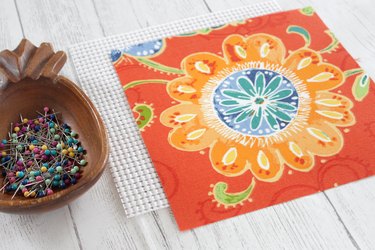
7-inch square piece of heavy fabric
7-inch square piece of rubber shelf liner
Sharp scissors
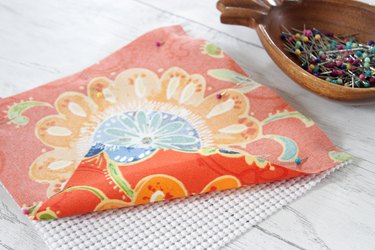
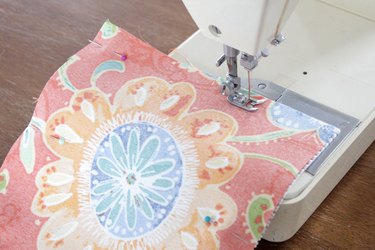
Step 1
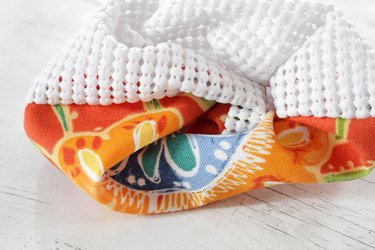
Place the right sides of the fabric and rubber shelf liner together. Line up the edges and pin in place. Sew a 1/2-inch seam, leaving a 3-inch opening in one side. Be sure to remove the pins as you sew.
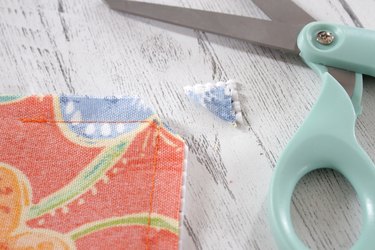
Step 2
Clip each corner at a 45° angle. This will help each corner lie flat by reducing the bulk when turned right side out. Be careful to not cut the stitching.
Step 3
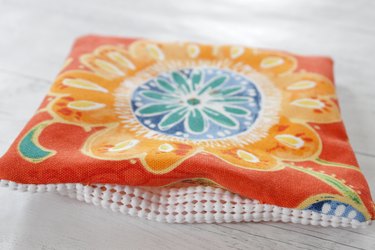
Turn right side out by pulling the fabric through the opening. Use a chopstick or a pencil to push out each corner.

Step 4
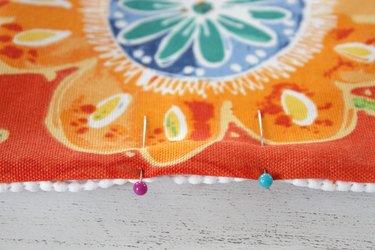
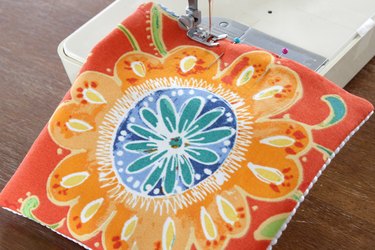
Tuck in the raw edges of the opening and pin in place. Close the opening by topstitching close to the edge. Continue to topstitch around all four sides.
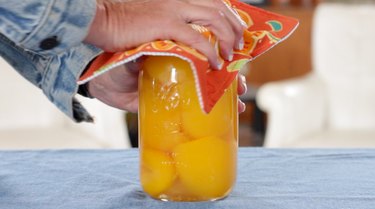
Step 5
So, the next time you have a lid that's refusing to open easily, just place the rubber side down onto the lid, turn and VOILA, no more frustrating stuck jar lids.