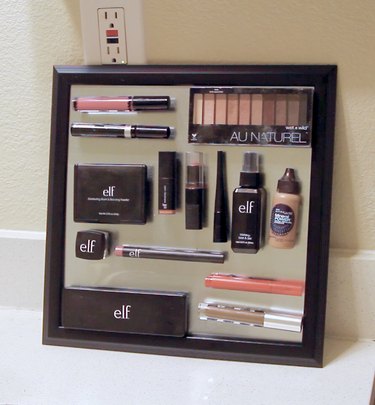
If you're like me and have limited bathroom counter space, then you know how easy it is to completely overcrowd it with products (especially makeup items). A lip gloss here, an eyeliner there–before you know it, you haven't seen your countertop in months! Luckily, this simple and chic DIY magnetic makeup organizer will save you plenty of counter space and store your favorite makeup items in one neat place.
Video of the Day
Things You'll Need
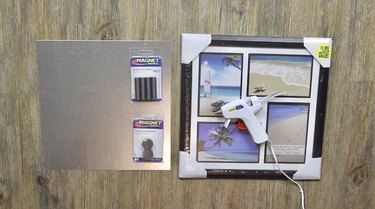
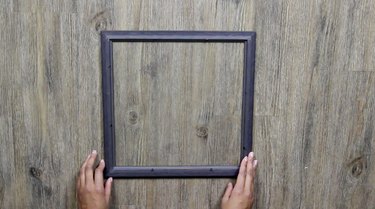
12 inch x 12 inch picture frame
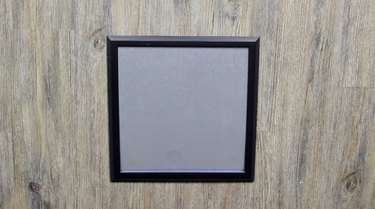
12 inch x 12 inch sheet metal
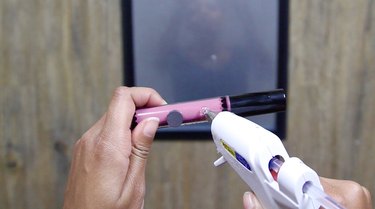
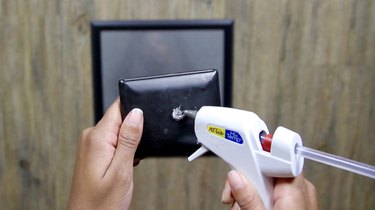
Magnets (1 inch and 1/2 inch)
Hot glue gun
Step 1
Remove all paper, inserts and backing from the picture frame.
Step 2
Carefully insert the sheet metal into the picture frame. The corners are pretty sharp so take your time!
Step 3
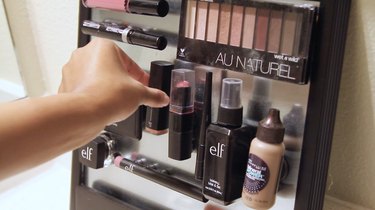
Hot glue the magnets onto the back of each makeup item. Some items may require multiple magnets depending on their weight, so just place each item onto the sheet metal to test it out.


Step 4
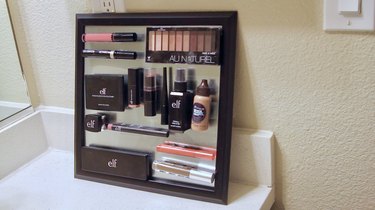
Place the complete magnetic makeup organizer on your bathroom counter, vanity, or bedroom dresser. Arrange your makeup items onto the board in a way that is aesthetically pleasing to you and say goodbye to your messy countertop!