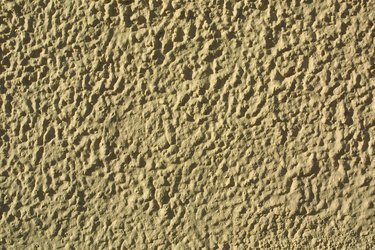
Sandstone paint adds a warm texture to walls or ceilings. Using this textured paint is an easy and inexpensive way to change the look and feel of a room. Choose high quality brushes and roller covers for this project. Clean the brush and re-use it for other painting projects. Dispose of the roller cover in the trash. You might want to try out the look on a practice board before painting an entire room to be sure the texture and color are what you expect from the product.
Preparation
Video of the Day
Move furniture away from areas to be painted. Select one wall to start painting. Apply painter's tape to adjoining areas that are not being painted such as trim and the ceiling. Remove outlet and switch covers. Apply painter's tape over the outlet or switch. Apply painter's tape around secure objects such as light fixtures. Lay the drop cloth under the area where you will begin painting to protect flooring. Use a 2-inch paintbrush and a roller pad with 1/2-to-3/4 inch nap. The thicker nap on the roller is needed to apply this textured paint. Dampen both the paintbrush and roller cover by running under water. Remove the excess water from the brush by pressing the water out with the brush between your fingers from the handle to the end of the bristles. Remove the excess water from the roller cover by wrapping your hand around one end of the roller and pressing while sliding your hand to the other end of the roller.
Video of the Day
Apply Sandstone Paint
Open the paint and stir with the paint stir stick until the color and consistency are uniform. Be sure to scrape the bottom well to mix in all of the settled granules. Pour paint into the paint tray until the tray reservoir is approximately half full. Use the 2-inch paintbrush to create a 3-inch border around the area to be painted. Dip the paint brush into the paint to cover no more than 2/3 of the bristles into the paint. If using an edge pad, place the roller side of the pad holder against adjoining areas such as trim or ceilings. Do not press the edge pad, simply allow it to float on the wall. The paint will flow more evenly without clumping or running.
Load the roller by rolling it in the paint until all of the roller cover is covered with a light coating of paint. Press the roller onto the paint tray to evenly distribute the paint into the roller nap. Roll the paint onto the wall starting where the paint is still wet from cutting in with the brush or edge pad. Work in sections to keep a wet edge on the areas cut in to prevent having a look of a border with the paint. Use a 'W' pattern to be sure the paint is distributed evenly across the surface of the area being painted.
Repeat the painting process on each additional wall by moving the drop cloth to the next area to be painted.