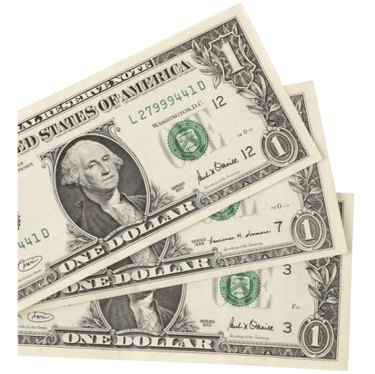
True origami makes use of one piece of paper folded into a form without the use of scissors, glue or any other instruments. Instead of origami paper, some artists prefer to use paper currency for their origami. The inherent thickness and stiffness of a dollar bill makes it ideal to fold and keep its shape. An origami dolphin is one of many figures you can fold with a dollar bill. Since you're working with a limited area of paper, however, your dolphin will be quite small.
Step 1
Fold the dollar bill in half lengthwise and crease. Lay it in front of you so that the longer side is horizontal and the shorter side is vertical.
Video of the Day
Step 2
Fold the top edge to the bottom edge, then unfold. Fold the left edge to the right edge, then unfold. This gives you horizontal and vertical guidelines on the dollar.
Step 3
Make diagonal guidelines by folding the top left corner down to the bottom right corner, then unfold. Fold the top right corner down to the bottom left corner, then unfold.
Step 4
Pick up the dollar and push the right and left sides in, collapsing them along the creases you just made. You should end up with a folded triangle shape, with a little excess paper peeking out the bottom.
Step 5
Grasp the front left point and fold it to the right and slightly down, so the point is hanging below the edge of the triangle on the left side.
Step 6
Grasp the top point of the triangle and fold it down until it meets the bottom edge. Fold the top point back up leaving a little space between the fold you just made and this new fold. This serves as the dorsal fin sticking up from the back of the dolphin.
Step 7
Fold the top left edge down onto itself so it hits halfway down the body. Make sure the dorsal fin is still visible.
Step 8
Grasp the left point and fold it in, then out again, leaving a tiny space in between folds. This forms the nose of the dolphin.
Step 9
Take the far right point, push it down and fold. Bring the upper flap back up and fold it pointing up. This forms the tail of the dolphin.
Step 10
Flip over the dolphin. Shape it and clean it up by folding any excess paper underneath.
Tip
Print out a visual aid from a website like Wonderful Info (wonderfulinfo.com).
Crease all folds well with the side of a pencil or your fingernail. This will hold the folds more effectively.
Use a brand new dollar bill for the best results.
Practice folding the dolphin on a dollar-sized piece of scrap paper first to avoid ruining the dollar bill.
Video of the Day