Things You'll Need
Foam board
Craft glue
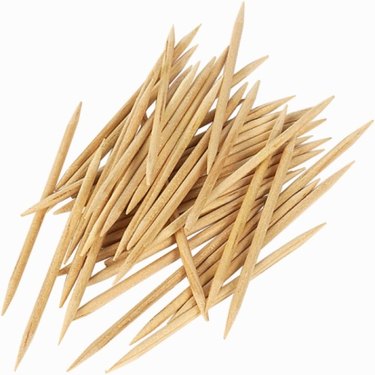
Wooden toothpicks are inexpensive, uniform in length and width, and easy to work with. For these reasons, students often use toothpicks to build arched bridges for beginner-level architecture or engineering projects. Hobbyists also make toothpick arches for fun, as an accent to a model city. A well-designed toothpick arch can support weighty objects such as bricks without collapsing.
Step 1
Glue pairs of toothpicks together along the edge to make stronger building components. Use the toothpick pairs to construct your arch.
Video of the Day
Step 2
Glue toothpicks together end-to-end on a flat surface to make a single curved line. The center of the line should be the highest point. When you stand the curved line up, the center will be one toothpick's distance from the ground and the ends of the line will be flush with the ground.
Step 3
Make a second curved line exactly like the first.
Step 4
Stand the two curves up on a foam board so the ends are touching the ground. Cross the centers of the two curves so there is an inch of space between the ends of the curves on both sides. Glue the intersection point. Secure the ends of the curves to the foam board with glue, or stick the toothpicks into the foam.
Step 5
Make two more curved lines twice as high as and slightly longer than the original curves.
Step 6
Stand the curved lines on opposite ends of the original, crossed curved lines at equal distances so the original curves are in the center and the two larger curves are parallel. Secure the ends of the larger curves to the foam board with glue or stick the toothpicks into the foam.
Step 7
Glue a toothpick at a 45 degree angle from the highest point of a large arch to the edge of the smaller curve closest to the large arch. Repeat this process on the opposite side. If necessary, glue toothpicks end to end to make them longer or cut a toothpick shorter with scissors.
Step 8
Connect the larger curves with the smaller curves by placing additional toothpicks at 45-degree angles to make a zig-zag pattern along the entire length of the bridge, on both sides.
Tip
Building instructions may vary depending on your teacher and class. Some teachers require the bridge to be freestanding.
Video of the Day