Knitting patterns provide a "recipe" for creating a knitted item, such as a hat, sweater, or handbag, using specific instructions. These include instructions on the yarn weight and size of the knitting needles to use. Adjusting the size designated in a knitting pattern takes a little time and effort but is usually possible.
Video of the Day
Patterns may need to be adjusted for several reasons. The knitter may have a particularly tight or loose stitch so that the intended weight and needle size don't produce a correctly sized garment. The knitter may wish to use a different yarn than that suggested by the pattern designer. Or the knitter may want to create a garment in a size not addressed by the pattern.
Video of the Day
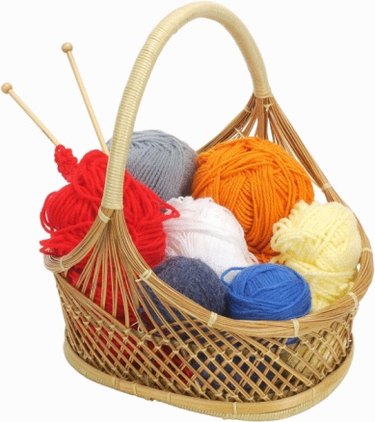
Things You'll Need
Knitting Needles
Ruler Or Flexible Measuring Tape
Pattern
Yarn
Step 1
Examine your pattern. Find the recommended yarn weight and needle size. If you haven't already, pick out your yarn and your needles.
Step 2
Knit a swatch. Most patterns come with a recommended yarn weight and needle size and offer a "gauge" consisting of a number of stitches per inch and a number of rows per inch. Knit a small square of fabric based on these recommended numbers, and use your ruler or flexible measuring tape to measure the swatch. If the number of stitches doesn't match the recommended gauge, or if you need a pattern resized, you have options:
Step 3
Adjust your needle size. A smaller set of needles will result in more stitches per inch, and a larger set of needles will result in fewer stitches per inch.
Step 4
Pick another yarn weight. Even within a single yarn weight, yarns are not exactly the same width. Compare your yarns side-by-side. You may find that two worsted-weight yarns, for example, have a visibly different width and texture. A thinner yarn on the same-sized needles will result in more stitches per inch and a smaller garment overall; a thicker yarn will result in fewer stitches per inch and a larger garment overall.
Step 5
Adjust needle size and/or yarn weight and reknit the swatch. Continue to make adjustments and reknit the swatch until you find the combination that results in the proper number of stitches per inch.
Step 6
Figure your own number pattern based on your swatch. If you need to produce a pattern for a size other than those designated in the original pattern, this is the technique to use. Determine the measurement of your desired sweater around the chest, skirt around the hips, hat around the head or handbag at the diameter. Using the gauge of your swatch, multiply the number of stitches per inch by the desired measurement around the garment. This is the key number for the body of your garment and tells you how many stitches around your knitted item should be.
Step 7
Figure any other necessary numbers using percentages. The rule of thumb for sleeves on a sweater, for example, is 20 percent of the key number for the cuff, 33.3 percent of the key number for the upper arm. You can use percentages to figure any part of any item:
Look at the original pattern. Find the number of stitches involved in the part of the garment in question and figure its percentage of the key number of the item as intended in the pattern. In sizing a child's sweater to fit an adult, for example, you may find that the number of stitches at the neckline is 50 and the number of stitches around the main part of the body (the key number) is 120. Fifty is approximately 42 percent of 120. Using the desired diameter of the body of your sweater as the key number, calculate 42 percent of that diameter to find the number of stitches needed in the neckline of your adult sweater.
Tip
Measure your garment or project as you go. In the example, as you finish the neckline, measure to make sure the measurement matches your percentage -- the neckline should match up to 42 percent of the sweater's total body diameter. Measuring as you go allows you to double-check your calculations and ensure that you'll have a fitting finished garment with a minimum of hassle.