Things You'll Need
Pattern for border
Yarn
Knitting needles
Blunt tapestry needle
Scissors
Measuring tape (sewn-on method only)
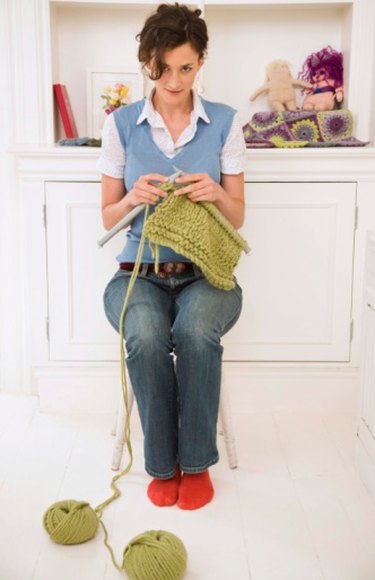
There are three different ways to add a knitted border to the edge of a knitted item. You can knit the border separately and sew it on, you can pick up stitches along the length of an edge and knit the border from the picked up stitches, or you can knit the border and attach it to the edge one row at a time.
Sewn-on border
Step 1
Measure the edge of the item to which you want to add a border. If the border needs to go around a corner, add a little extra to allow for gathers at the corner. This is the length of the border you will knit.
Video of the Day
Step 2
Knit the border using the pattern you selected until it is almost as long as the measured length. The yarn you use should be about the same weight as the yarn used to knit the original item.
Step 3
Slip the live stitches at the end of the border onto a yarn holder, and carefully pin the border to the item, easing the border around any corners.
At the corner, the eased border will show a little gather, like a ruffle. The more ease that you give at the corner, the more pronounced the gather effect will be. Adjust the ease until you like the appearance.
Step 4
Determine exactly how much longer the border needs to be.
Step 5
Unpin the border and return it to the knitting needles.
Step 6
Finish knitting the border and bind off. Weave in the ends.
Step 7
Pin the border to the item and attach it using the mattress stitch.
Knitting a border along a picked-up edge
Step 1
Pick up and knit the stitches along the edge of the piece to which you want to add the border. Use a large circular needle and yarn that is similar in weight to the yarn used to knit the original piece. As a general rule, pick up one stitch for each stitch along the top or bottom of the piece, and pick up three stitches for every four rows along the sides.
Step 2
Knit the border, following the pattern you have selected.
Step 3
Increase at every corner to create a mitered corner so the border will lie flat. As a general rule, you should increase the equivalent of one stitch every corner, every round. Be sure that you add the increase stitches equally on both sides of the corner.
You may prefer to increase two stitches at every corner every other round, placing one increase just before the corner and one stitch just after the corner.
Step 4
Continue knitting until the border is the width that you want.
Step 5
Bind off, and weave in the ends.
Border attached to the edge one row at a time
Step 1
Cast on the number of stitches needed for the width of the border pattern. Or, use a provisional cast on.
Step 2
Knit the first row of the pattern.
Step 3
Knit the second row of the pattern, except that when you come to the last stitch in the row, knit it together with an edge stitch along the side of the original piece. Do not start in the corner.
Step 4
Continue knitting the pattern rows. On every even row, knit the last stitch together with the next edge stitch of the original piece. You are joining the edge and the border at this stitch.
Step 5
Turn the corners.
If you are making a narrow border, at the last stitch before the corner, make a double join. At the corner stitch, make a triple join. At the first stitch after the corner, make a double join.
If you are making a wide border, you will need to experiment to see how many double or triple joins you need to make for the border to lie flat. Or, follow your pattern instructions.
To make a double join: Knit the last stitch of a border row with the edge stitch where you want a double join (first join). Knit the next two border rows as normal, except at the end of the second row, knit the last stitch together with the edge stitch where you want a double join (second join in the same stitch).
To make a triple join: Make a double join. Knit the next two border rows as normal, except at the end of the second row, knit the last stitch together with the edge stitch where you made the second join (third join in the same stitch).
Step 6
When you complete the border and reach the starting point, bind off the border and sew it to the cast-on edge of the border using a mattress stitch if you used a regular cast on. If you used a provisional cast-on, remove the cast on and join the two ends of the border with the Kitchener stitch. Weave in all ends.
Video of the Day