Bernina sewing machines have been gracing the work tables of seamstresses and hobbyists for decades. Berninas, as they are endearingly referred to, have been passed down from generation to generation, with many older models still in excellent working condition. It is important for all Bernina machines to continue to receive regular maintenance in order to remain in tip-top shape. One important maintenance task is to change the machine's needle. Bernina USA recommends oiling and changing your machine's needle after every 3 to 4 hours of sewing. Fortunately, changing a Bernina needle is a simple task that won't take longer than a few minutes and will enable you to be off and sewing again in no time!
Step 1
Purchase Bernina sewing machine needles specific to your model. The model can be found stamped on the front or bottom of your machine. Bernina needles can be purchased at most local sewing machine shops, and through some online retailers. Find a local Bernina USA Dealer at BerninaUSA.com.
Video of the Day
Step 2
Turn your sewing machine off.
Step 3
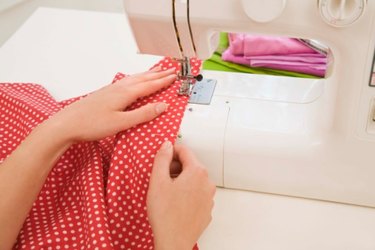
Locate your sewing machine's needle and make sure it is in the highest position by turning the the handwheel toward you until the needle is at its highest point.
Step 4
Hold the needle between your left thumb and pointer finger, and turn the needle clamp screw on the right side of the needle with your right thumb and pointer finger. Turn the screw until the needle feels loose enough to remove.
Step 5
Pull the needle down and out of the needle holder and set it to the side.
Step 6
Hold the new needle between your left thumb and pointer finger. Face the flat side of the top of the needle, called the shank, away from you. Point the sharp end of the needle down.
Step 7
Slide the new needle into the needle holder until the shank cannot go up any further. Do not force the needle in place. The needle will only slide into place if the flat side of the shank is facing away from you.
Step 8
Tighten the needle clamp screw while holding the new needle in place. The screw is tight when it has stopped turning. The needle should be held firmly in place by the needle clamp screw. Be careful not to overtighten the screw.
Warning
To avoid possible injury, make certain your machine is off before beginning any work on your machine. Always keep fingertips out of the way of the needle. Hold needle between thumb and pointer finger at all times to lessen the likelihood of being injured.
Video of the Day