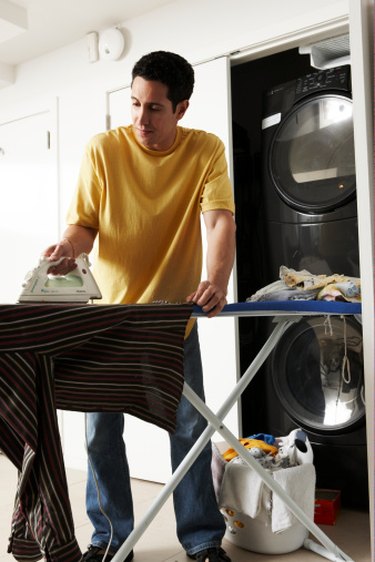
Things You'll Need
Iron
Ironing board
Fabric
Parchment paper has been around for decades, used primarily in baking. Parchment paper is coated on one side with silicone and is heat resistant and nonsticking. Bakers commonly use parchment paper as an alternative to greasing baking sheets because they make cleanup easier. Crafters also use parchment paper for many things, including to help seal iron-on transfers on fabric.
Step 1
Apply the iron-on transfer according to the manufacturer's instructions. This should include preheating the iron on its hottest setting and applying firm pressure for at least 30 to 45 seconds on all areas of the transfer.
Video of the Day
Step 2
Allow the paper and ink to cool after the transfer has been applied. Gently peel off the paper backing from the design.
Step 3
Place a piece of parchment paper shiny side down over the design.
Step 4
Iron the parchment paper in circular motions for 30 seconds and make sure you cover all areas of the design.
Step 5
Lift and discard the parchment paper and allow the shirt to cool.
Tip
You can repeat ironing the design with parchment paper after each wash to help protect the design.
Video of the Day