Things You'll Need
Tape measure
Chalk
Pencil
Vinyl tile cutter
Putty knife
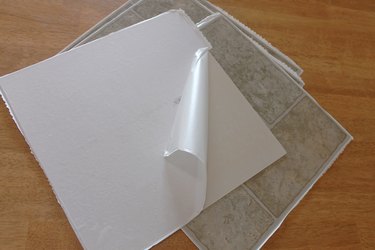
Self-adhesive vinyl tile are one of the easiest types of tile that you can install. They are a peel-and-stick type of tile, meaning you just need to peel off the backing and lay the vinyl tiles in place across your floor. However, if you prepare adequately before the installation process and take the time to gather the tools you will need, the installing the self-adhesive vinyl tile will be much easier for you.
Step 1
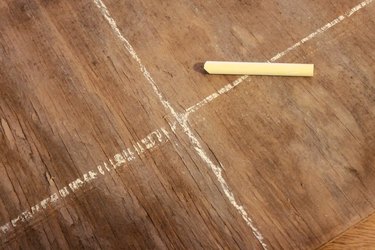
Divide the area where you are installing the self-adhesive vinyl tiles into four equal sections. Use chalk to mark the locations of these four sections.
Video of the Day
Step 2
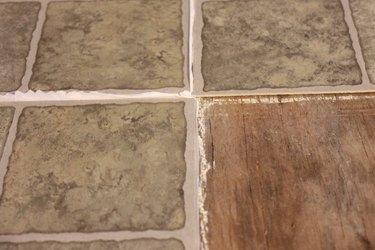
Lay out the floor tile within each individual section. At this point, do not remove the backing. This is just to get the vinyl tile into place. Lay the tile starting at the center of the room within each section and working your way toward the wall.
Step 3
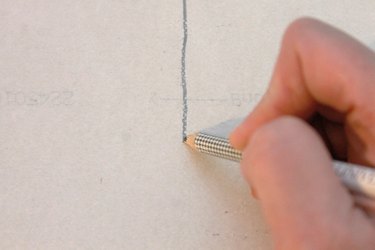
Measure how much you need to cut the tiles that will be against the wall. Mark each tile with a pencil.
Step 4
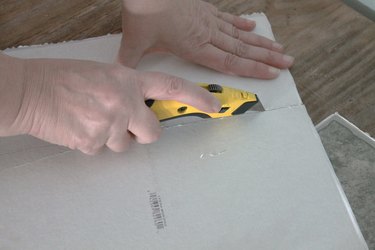
Cut each tile at the pencil line using a vinyl tile cutter. Work carefully to get an accurate cut. More intricate cuts can be done with a putty knife.
Step 5
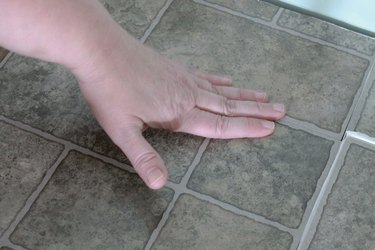
Remove the adhesive backing now from each tile you laid out and stick it into place. Apply firm pressure to all areas of the tile before moving onto the next one. Continue this process until all the self-adhesive vinyl tiles are laid.
Video of the Day