Things You'll Need
Pringles can with lid, empty
LED flashlight
Fine-line permanent marker
Craft knife
Old magazine
9-inch-by-12-inch sheet craft foam, white
Black electrical tape
Ruler
16-ounce water bottle, empty
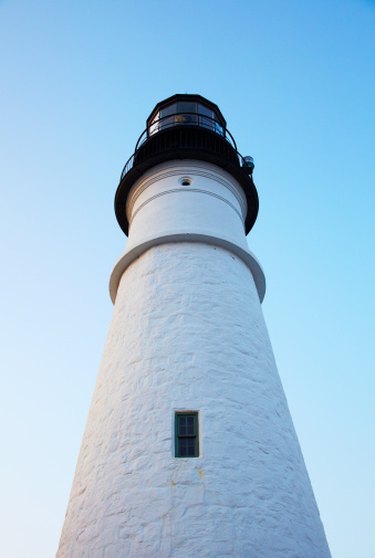
The first lighthouse was built around 280 B.C. to help the sailors of Alexandria, Egypt, locate their city. It was a 450-foot-tall cylindrical building with a beacon of light on the roof made with a burning fire. The cylindrical form of the lighthouse continued to be used throughout history. The light source changed from a simple fire to the present-day rotating electrical light that uses a reflective surface to enhance the brightness of the light. You can create a model lighthouse using a Pringles can and baby food jar.
Step 1
Remove the lid from the Pringles can. Place the lid on a flat, stable work surface so the edge of the lid is facing up. Place the lens of the LED flashlight in the center of the lid. Trace around the outside edge of the flashlight. Remove the flashlight. Draw a circle 1/16 inch smaller in diameter than the traced circle inside of the traced circle; the circles should resemble a tire shape.
Video of the Day
Step 2
Place the plastic lid on an old magazine so the edge of the lid is facing up. Cut along the smaller circle's line with a craft knife. Remove the cut-out piece of plastic.
Step 3
Flip the lid over so the edge of the lid is facing down. Insert the back end of the flashlight through the cut opening. Lift the lid and slide it toward the lens. Secure the lid to the lens by tugging it down slightly. Set aside.
Step 4
Place the white foam sheet vertically on a flat, stable work surface. Align the bottom edge of the can along the bottom edge of the white foam sheet. Wrap the white foam sheet around the can. Tape the seam together with a 12-inch piece of electrical tape. Cut off any excess craft foam that sticks up over the top of the can.
Step 5
Turn the Pringles can 90 degrees. Create a second stripe from top to bottom of the can with another 12-inch piece of electrical tape. Repeat the process for a total of four strips, evenly spaced out.
Step 6
Draw a line around the empty water bottle 3 inches from the bottom with the marker. Cut along the line. Discard the top portion of the bottle.
Step 7
Fit the cut edge of the bottle over the top of the flashlight lens. Tape the cut edge of the water bottle to the edge of the can lid.
Step 8
Turn the flashlight on. Snap the plastic lid to the Pringles can.
Tip
Create a colored light by painting the cut water bottle with red or blue glass paint before attaching it to the Pringles can lid.
Video of the Day