Things You'll Need
Masking tape
Pencil
Tape measure
Carpenter’s level
Drywall hook
Drywall screw
Screwdriver
Assistant
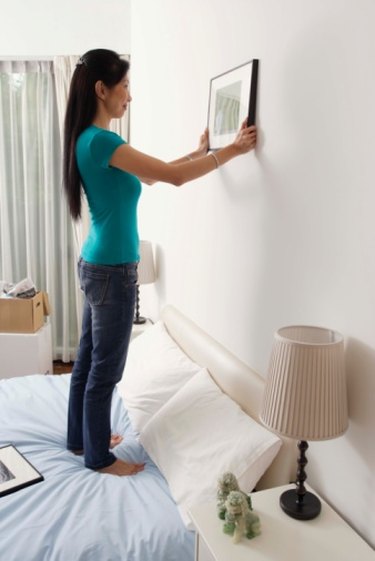
Hanging a picture on drywall involves much more than just choosing a spot and then driving a nail through the material. Hanging a picture so it sits level precisely where you want it, and, more importantly, remains in place, requires both planning and the proper mounting equipment. Without the proper approach, you're likely to have a broken frame, damaged drywall or a crooked picture. If you use the right method, however, your picture hanging will be problem-free for years.
Step 1
Have an assistant hold the picture on the drywall where you wish to mount it. Place a strip of masking tape on the wall across the length of the picture so the bottom of the tape is positioned along the line of the top of the picture frame. Mark the ends of the picture frame on the masking tape, using a pencil, and then have your assistant remove the picture.
Video of the Day
Step 2
Use a tape measure to measure the distance between the two marks you made in Step 1. Make a mark on the masking tape at the halfway point between the picture edges if you're using a picture that mounts with a single wall hanger on the rear. For multiple wall hangers, measure the length from the side of the picture frame to the center of each hanger, and then mark those center points on the masking tape.
Step 3
Measure the distance from the center of the wall hanger to the point at which the nail should be placed by hooking the end of the tape measure onto the wall hanger and pulling it up toward the top of the frame. When the wall hanger is extended fully, measure the distance remaining between the top of the wall hanger and the top of the picture frame. If the frame has D-rings or sawtooth hangers, then measure from the top of the frame down to the location of the hanger points instead.
Step 4
Place a carpenter's level on the wall at the center point mark on the masking tape, extending downward. Make sure the level is plumb, or straight up and down vertically, and then mark the measured distance for the wall hanger position on the wall with the pencil.
Step 5
Install a drywall hook through the drywall at the marked point to attach your picture. Push the point of the hook through the drywall, using a twisting motion with the curve of the hook pointing upward until the point curves up to rest against the drywall rear. This leaves the small hook on the end sticking out from the drywall face so you can hang the wire across the rear of your picture from it. Use drywall screws instead of the hook for mounting pictures with D-rings or sawtooth hangers. Drive the screw into the drywall, preferably at the location of a wall stud, leaving a slight amount of screw rising from the drywall surface. Place the D-ring or sawtooth hanger over the screw head.
Step 6
Remove the masking tape and then hang the picture in place. Position the center of the wire across the picture rear on the installed hook. Place the D-ring or sawtooth hangers over the installed drywall screw for installation of those mounting alternatives. Check the level of the picture with the carpenter's level. Make any adjustments necessary to level the picture for optimal viewing.
Tip
Check the picture hook's packaging to determine the maximum weight rating for the hook before you purchase it.
Video of the Day