Things You'll Need
Cloth or paper napkins
Scissors
Ribbon
Silverware
Ruler
Binding your silverware or utensils in decorative napkins adds a festive flare to any dining occasion. Utensils can be tied with either cloth or paper napkins, depending on your budget and how formal your occasion is. The silverware bundle can then be secured with decorative ribbon to keep the napkin in place.
Wrapping the Napkin
Step 1
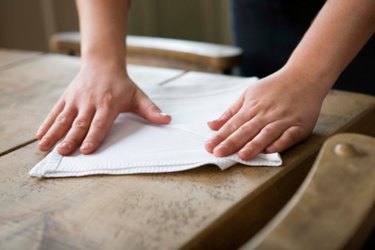
Fold the napkin in half. Then fold the halved napkin in half again to create a square. If you are working with a pre-folded square, paper napkin, skip this step as it is already a square.
Video of the Day
Step 2
Turn the napkin square so that it is a diamond shape, with points at the top and bottom, with the folded closest to you.
Step 3
Separate the folds at the top portion of the napkin. Fold the first layer of the napkin down towards the bottom of the napkin. Repeat this process until there is one layer left pointing up.
Step 4
Tuck the side edges of the diamond-shaped napkin to the back. Tucking the side edges behind the napkin packet will alter the shape of the napkin from diamond-shaped to rectangular with the top part of the napkin remaining pointed.
Step 5
Slide the silverware into the pocket created by folding the edges of the napkin down.
Tying the Bow
Step 1
Cut about six to ten inches of ribbon. Allowing extra ribbon will simplify the tying process and excess ribbon can be cut off after the bow is tied.
Step 2
Wrap the ribbon loosely around the napkin pocket and silverware, centering it just below the pocket that holds the silverware.
Step 3
Tie a knot with the ribbon to secure the napkin into place, but don't make it so tight that the napkin puckers.
Step 4
Tie a bow with the two free ends of the ribbon so that the bow sits over the knot you created in Step 3.
Step 5
Adjust the ribbon loops so that they appear to be even by pulling on the loops or the extra ribbon to make them smaller or larger. Then, create another bow to hold the ribbon tightly in place. Cut any excess ribbon with your scissors.
Video of the Day