Things You'll Need
4 balsa wood sections, 1/4 by 1/4 by 1 inch
4 balsa wood sections, 1/4 by 1/4 by 3 inches
4 balsa wood sections, 1/4 by 1/4 by 6 inches
1 balsa wood section, 1/4 by 1/4 by 12 inches
1 balsa wood section, 1/4 by 1/4 by 2 inches
Acrylic glue
String, 8 inches
Paper clip
Carving knife
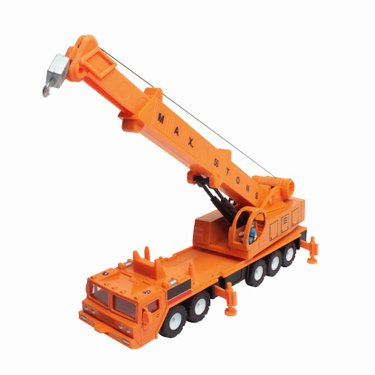
Cranes are used for large building projects and on large construction sites to carry large loads to high elevations. However, those cranes are made out of heavy material and are professionally built to suit the level of the construction project. Wooden cranes can be used for the purpose of tools in a model or for the use of children as toys or in their tool kits. Such toys or models may be hard to find in shops. Build one yourself with minimum time, effort and skill.
Step 1
Place two wood boards measuring 1/4 by 1/4 by 6 inches side by side, which will constitute the sides of the crane. Set a 1/4-by-1/4-by-1-inch board above the two side boards, aligning it directly in the center. Set a 1/4-by-1/4-by-3 inch board in the center of the side boards near the rear end to constitute a side panel with the 1/4-by-1/4-by-1 inch board. Glue each joining side and let the glue dry. Repeat the procedure for three more side panels.
Video of the Day
Step 2
Assemble each of the four side panels together and in position to make the tall body of the crane. Secure the sides together with glue and let them dry.
Step 3
Take the1/4-by-1/4-by-2-inch wood board and the 1/4-by-1/4-by-12-inch board and attach the 1/4-by-1/4-by-2-inch board to the middle of the 1/4-by-1/4-by-12-inch board. This will make the pivot and arm for the crane.
Step 4
Twist an 8-inch piece of string around the end of the crane's arm. Attach a paper clip to the opposite end of the string to form the hook of the crane.
Step 5
Set the pivot along with the crane on the upper portion of the crane's body. Make a small V-shaped opening with the use of a carving knife in the position where the pivot is to be located to secure it in place and prevent it from falling off the crane's body.
Tip
Ensure proper adult supervision if a child is building this crane. Do not let the child use acrylic glue or sharp crafting knives.
Paint the crane or decorate it with the child’s name if it is going to be used as a toy.
Video of the Day