Things You'll Need
Well-rotted manure
Pickax
Spade
Rototiller (optional)
Measuring tape
Tomato seedlings
Shears
4-foot-long stakes
Wire cage (optional)
String
Water
Soaker hose
Mulch
10-30-10 fertilizer
Measuring 1/4 cup
21-0-0 fertilizer
Measuring tablespoons
The heat-loving tomato is well adapted to the climate of Hawaii and you can grow it year-round in almost every nook and cranny of the archipelago. The University of Hawaii has also developed varieties of tomatoes resistant to root-knot nematode, a tomato pest present on the islands. When you set out to buy tomato seeds or seedlings, look for the cultivar names 'Anahu', 'Healani', 'Kalohi' and 'Puunui'. Other than that, follow usual practices for growing tomatoes and your garden will return to you a healthy and abundant crop.
Step 1
Incorporate 10 pounds of well-rotted manure per 100 square feet into the soil. Use a pickax and spade to break up the ground to a depth of 6 inches or rent a rototiller.
Video of the Day
Step 2
Dig holes for your tomato seedlings, placing them 15 inches apart from each other. Space rows 2 feet apart.
Step 3
Transplant three to five-week-old tomato seedlings. At planting, remove all side shoots to leave the tomato plant with only one main stem.
Step 4
Bury 4-foot-long stakes next to the seedlings and tie the plants loosely. Or place wire cages over the seedlings. There's no need to prune the side shoots or stake the tomatoes if you grow them under circular cages.
Step 5
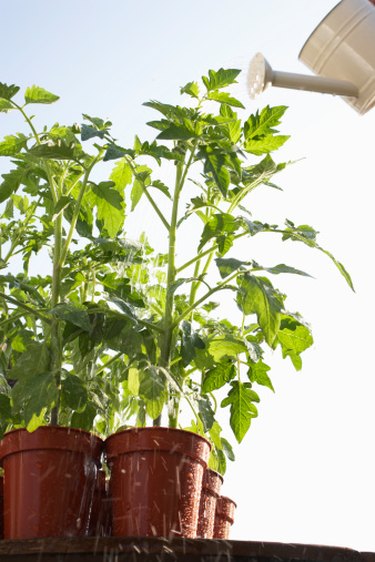
Irrigate your tomato seedlings at planting with 1 inch of water. Continue to give them 1 inch of moisture weekly. Double the amount after the plants set fruit. Install a soaker hose that delivers water straight into the ground, leaving the foliage dry.
Step 6
Cover the area between plants with a 2-inch layer of mulch to conserve moisture and suppress weeds. Straw, dead leaves and wood chips are a few of your options.
Step 7
Feed the tomato plants after they set fruit. Apply ¼ cup of a 10-30-10 fertilizer 6 inches away from the plants. Work it into the first 3 inches of the soil surface. Irrigate the area thoroughly. Two weeks after harvesting the first tomatoes, begin to apply 1 tablespoon of a 21-0-0 fertilizer to each plant every two weeks. Place the formula 8 inches from the base and irrigate the area. Stop when the plants produce their final crop.
Step 8
Contact your extension office for help identifying and controlling pests on your tomato plants. Eliminate late blight with the fungicide Bravo, for instance. The chemical diazinon kills white flies.
Step 9
Harvest tomatoes when they begin to turn pink at the bottom all the way to when they're fully ripe.
Video of the Day