Things You'll Need
Drop cloths
Liquid dish detergent
Bucket
Sponges
Towels
Primer, oil-based
Paintbrush
Wood putty
Putty knife
100 grit sandpaper
Joint compound or spackling compound
Masonry trowel or trowel
Wall texture, optional
Wallpaper liner, optional

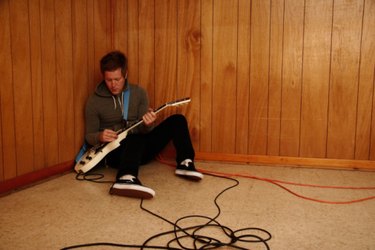
In the 1970s, wood paneling of various hues was all the rage in dens and family rooms across the country. As decades passed, the look became dated and fell from favor. Many homes still boast paneled walls, much to the chagrin of their owners. It is possible to update the walls without ripping the paneling from the surface. Hide the grooves on paneling by resurfacing the walls with joint or spackling compound. Once the paneling grooves are covered, paper or paint just like you would on a plaster or drywall surfaced wall.
Step 1
Move furniture from the room. Place drop cloths on the floor to protect the flooring. Clean the paneling with liquid dish detergent and water with a sponge. Towel dry and then allow the walls to air dry to completely.
Video of the Day
Step 2
Fill any large holes from nails or damage with wood putty. Use a putty knife to scoop the putty from the container. Press the putty into the holes with the flat edge of the knife. Allow the putty to dry.
Step 3
Sand the paneling surface with 100 grit sandpaper. Sanding the paneling creates a textured surface enabling the primer to adhere well.
Step 4
Paint the paneling with an oil-based primer intended for priming wood walls for painting preparation. Allow the primer to dry.
Step 5
Use a trowel, putty knife or larger masonry trowel to apply a golf ball size dollop of joint compound or spackling compound to the grooves of the paneling. Press the compound into the groove and slide the top flat edge of the knife downward, smoothing and pressing the compound into the groove at the same time. After filling all grooves with the compound, allow it to dry.
Step 6
Apply a second coat of compound. As joint or spackling compound dry, the material shrinks. The grooves that were covered when the compound was wet will now be sunken. Refill with a second coat and allow the compound to dry.
Step 7
Cover the wall with spray texture using a rented or purchased texture machine or cover the walls with wallpaper liner, also called paper lining or wallpaper lining, and then paint or wallpaper your resurfaced paneled walls.
Tip
Over time the compound concealing the paneling grooves may break down. Wallpaper lining will preserve the walls for a longer period of time but is also more time-consuming.
Warning
Apply oil-based paints and primers with proper ventilation throughout the room and house.
Video of the Day