Things You'll Need
Homemaker sewing machine
Thread
Scissors
Vacuum with crevice attachment
Nylon brush
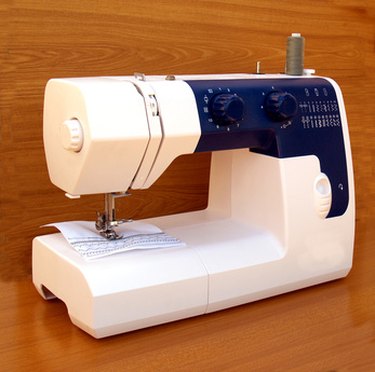
Homemaker sewing machines have been manufactured for many decades, so there are lots of models out on the market. You may be able to find a good Homemaker sewing machine at an estate sale or thrift store. New Homemaker sewing machines are found at discount retail stores. These machines are good, basic sewing machines that are not capable of embroidery and other advanced techniques, but for the everyday sewist who wants to make clothing, window treatments and quilts, Homemaker sewing machines work well and at a good value.
Step 1

Place the sewing machine on a table or desk that is a good height for you. If the table is too high, you'll get sore muscles in your neck and shoulders. If it's too low, you'll have to hunch over the machine. Set up the machine by plugging the foot pedal into the machine and the power cord into the wall. Place the foot pedal next to your right foot on the floor.
Video of the Day
Step 2

Wind the bobbin with the thread you will be using for your first project. To do this, remove the bobbin from its drop-in compartment beneath the needle. Place the bobbin on its winding spindle on the top of the sewing machine. Place the spool of thread on its spindle, pull the end of the thread around the guided route, and insert the end of the thread through one of the holes on the top of the bobbin. Loosen the flywheel. Step on the foot pedal to wind the bobbin. The bobbin will stop spinning when it is full. Replace the bobbin in its drop-in compartment and replace the compartment's cover.
Step 3

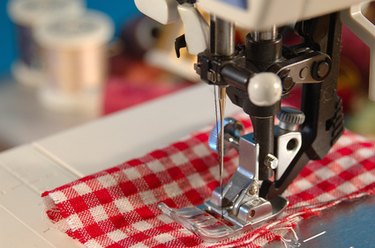
Thread your machine by placing a spool of thread on its spindle on top of the machine. Pull the thread to the left until it reaches the tension assembly. Pull the thread down through the tension assembly, back up to the moving lever, and then down again to the needle. There's a hook at the top of the needle assembly. Make sure your thread gets caught behind the hook. Thread the needle by pushing the end of the thread through the needle from front to back.
Step 4
Lower the needle by turning the flywheel. When you raise the needle again, the top thread will pull the bobbin thread up through the feed dogs. Sweep both threads to the back side of the machine so they are out of the way when you start sewing.
Step 5

At the beginning of a seam, go forward five or six stitches and then push the backstitch button on the front of the machine so that you backstitch four or five stitches. After backstitching, proceed to sew your entire seam. When you get to the end of your seam, press the backstitch button again for five or six stitches, and then sew forward until you get to the end. These backstitches help to keep your seams from unraveling.
Step 6
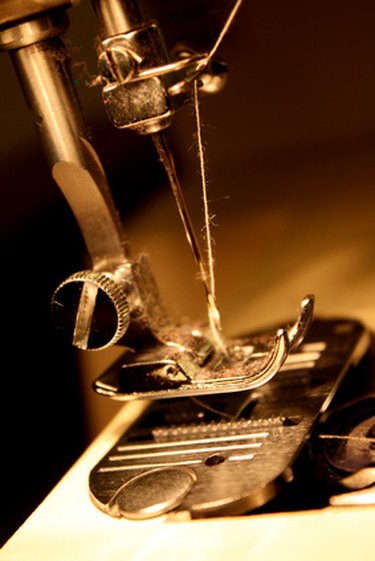
To keep your Homemaker sewing machine in good repair, use the crevice attachment on your vacuum cleaner to suck out dust that gets in the machine's crevices. Make sure to vacuum the bobbin compartment, and open the compartment on the left side of the machine that houses the light. Also, use a nylon brush to brush out the inner workings. Keeping your machine clean will help it to last longer.
Tip
If your machine isn't running smoothly, take it to a sewing machine repair shop. Keep your user manual handy for troubleshooting and threading diagrams.
Video of the Day