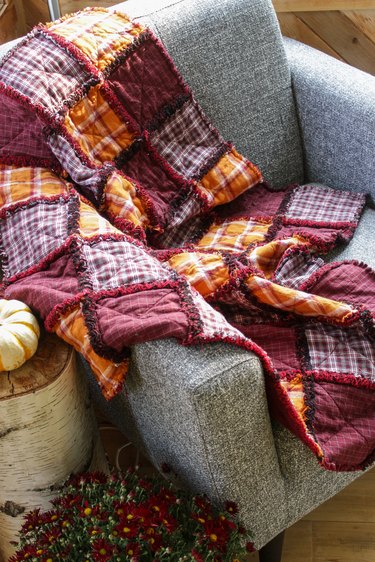
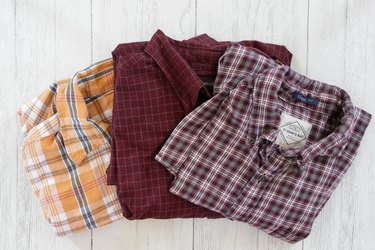
If you've been thinking about trying your hand at quilt making, before going to your local fabric store, source your quilt fabric from shirts at a thrift store or even in your own closet. Thrift stores are now overflowing thanks to those whose favorite quarantine pastime has been cleaning and the clothing racks are teeming with shirts in every color and pattern. You could even use the shirts of a loved one to honor their memory. No matter what shirts you decide to use, this is great way to learn how to quilt and be thrifty at the same time. Win, win situation in our book.
Video of the Day

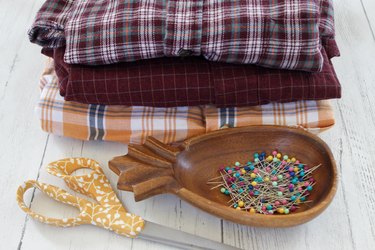
Things You'll Need
3 flannel shirts for a lap quilt (5 flannel shirts for a single bed quilt)
3 yards solid flannel for a lap quilt (7 yards for a single bed quilt)
Sharp scissors
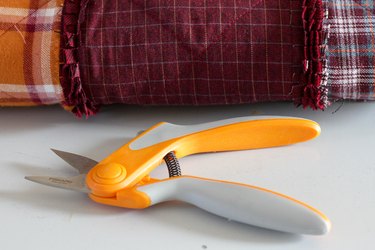
Sharp rag quilt scissors
Straight pins
Step 1
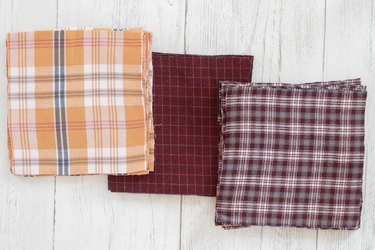
Cut the shirts into 14 seven-inch squares. Cut the solid flannel into 84 seven-inch squares for a lap quilt. If you're making a single bed quilt, you'll need 205 seven-inch squares of solid flannel.
Step 2
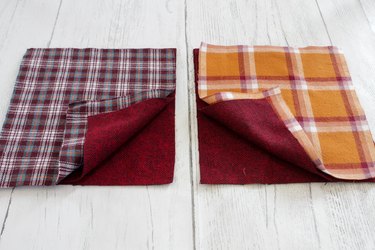
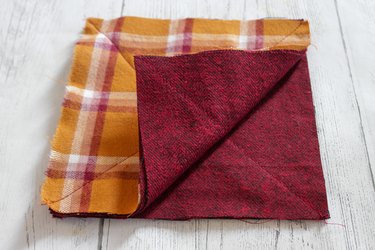
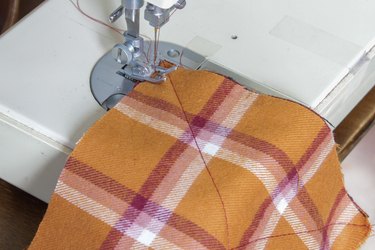
Layer the squares with two solid pieces of flannel on the bottom and one of the flannel shirt squares on top. Sew an X from corner to corner through all three layers.

Step 3
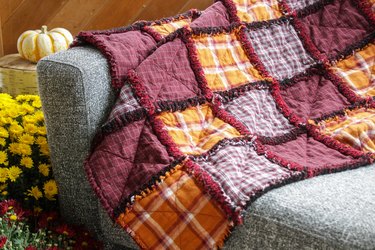
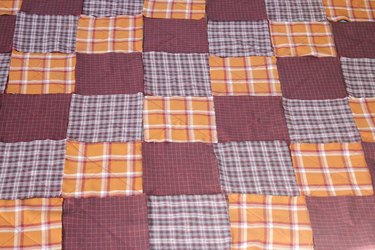
Arrange the squares into your desired pattern on a large table or on the floor.
Step 4
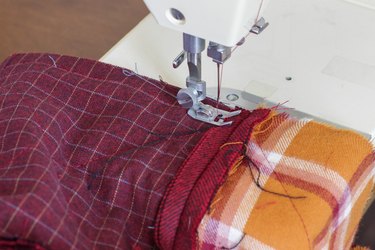
Place the wrong sides of the squares together and sew one side with a 1/2-inch seam. Continue sewing into a strip. Place the wrong sides of the strips together and sew a 1/2-inch seam. Be sure to open the seams as you sew over them. Sew a 1/2-inch stitching line around the entire edge. Be sure to open the seams as you sew.
Step 5
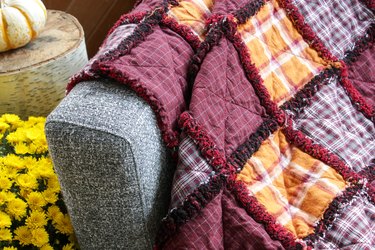
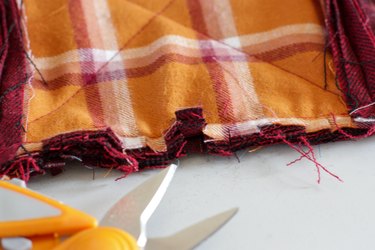
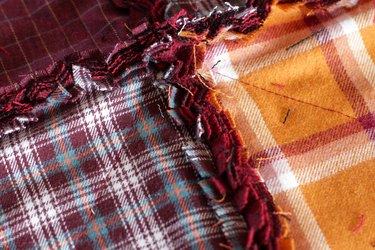
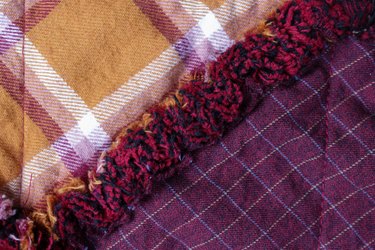
Use sharp rag quilt scissors to clip all of the exposed seams and around the entire edge. Be careful to not cut any of the stitching.
Step 6
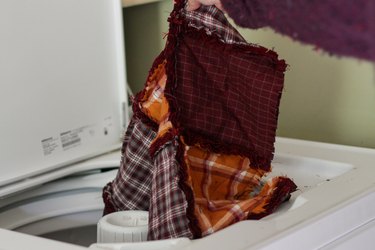
Wash and dry the quilt to fray all the exposed seams.
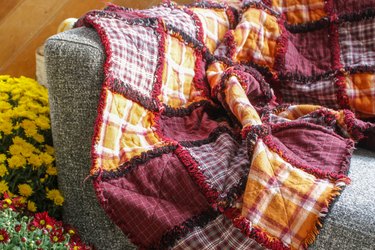
Warm and cozy!