Things You'll Need
Artist's canvases
Carpentry C clamps
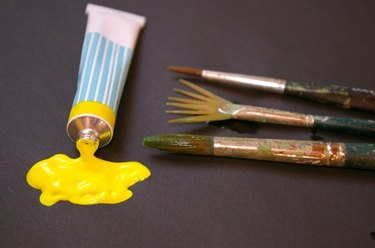
Paint and brush set
Easel
Craft knife
Masking tape
Pencil
You can use three key ways to successfully paint on multiple canvases within a single artistic piece. The first method involves painting themed pieces in series, intended to be mounted alongside each other but technically can be considered individual paintings. The two more complex methods are physically connecting the canvases during the initial painting process, or penciling the template for the final painting onto each individual panel and carefully color matching each adjoining seam for a smooth integration of smaller canvases into a larger piece.
Clamped Multi-Canvas Method
Step 1
Lay all the canvases on a clean floor, face down with their frames pushed together in the order you desire the multi-canvas painting to connect. Symmetrical shapes work best since they will still fit on an easel.
Video of the Day
Step 2
Screw the C clamps closed, pressing the edge of each canvas to its neighbor while gripping the back-side interior of the canvases. Space four C clamps evenly apart so that they form a solid grip between all pieces.
Step 3
Gently lift the clamped canvases onto the easel and paint the piece normally. Allow the paint to dry. Separate the canvases using a craft knife and a slow, careful cutting motion in one direction.
Step 4
Unscrew the clamps from the back of the painting one at a time, carefully releasing each segment from the multi-canvas painting and setting it aside before taking off the next.
Pencil and Color Matching Method
Step 1
Lay all the canvases side by side on a large table or flat clean surface. Loosely join them together using masking tape. The masking tape is temporary and each individual piece can be taken off if the artist needs to draw underneath; the tape is only there to prevent the piece from sliding around.
Step 2
Draw a rough silhouette of all the shapes of the final painting, crossing from one canvas to another.
Step 3
Remove each of the masking tape pieces and paint the picture one frame at a time on the easel. Each time an edge of the canvas is reached, be sure to immediately paint adjoining objects in the other frames to ensure color consistency; this is particularly important when using blended colors.
Tip
When cutting apart the canvases in the clamped method, make sure that the blade on the craft knife is as sharp as possible and firmly fixed to the handle to ensure a quick, straight and hassle-free cut. Use a yardstick to ensure a perfectly straight cut.
Use more C clamps than the bare minimum to hold the canvas together. If one of them loses grip during the painting process without a redundant clamp in place, it can have a major negative impact on the final piece.
It is much easier to use the pencil method with very large segmented paintings due to the fact that most easels will only support a few combined smaller canvases.
Warning
Paint in a well-ventilated area if using oil paints or solvents.
Exercise caution when handling a craft knife.
Video of the Day