Things You'll Need
Hexagonal Love and Money Weaving Loom
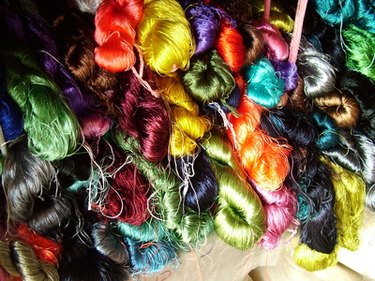
Yarn
Tying Shuttle
Love and Money lap weaving looms have been used by crafters for years to create beautiful and practical hand crafted accessories and gifts for the home. The plastic or wood looms are easy to use and come in a variety of shapes and sizes. Adults and children alike can create beautiful pot holders, coasters, place-mats, table cloths, and blankets in a relatively short period of time by using a loom, yarn, and a tying shuttle.
Step 1
Tie the yarn around the start peg that is located in the top left hand corner of the loom. Skip the peg directly to the left of the start peg and wrap your yarn around the next one. Call this your A peg for instructional purposes. Wrap the yarn around the peg that is directly opposite of your A peg, cross the yarn in a figure 8 style, then bring the yarn back to the top of your A peg. Use your finger and guide the yarn to the peg directly under the A peg and repeat the wrapping and crossing process until you reach the second to last peg on the left hand side of the loom. Call this your B peg for instructional purposes. Complete a figure 8 wrapping process but instead of guiding the yarn around the peg under the B peg, skip it and wrap the yarn around the next peg. Call this your C peg for instructional purposes. Notice the C peg is directly opposite your start peg.
Video of the Day
Step 2
Complete the second step of your first layer by turning the loom clockwise until the C peg is in the same position your start peg occupied when you began the project. Repeat the process of wrapping the yarn around the pegs in the figure 8 pattern until you reach the bottom and are at your original start peg.
Turn the loom clockwise again and continue the two-step process until you have completed enough layers to obtain the desired thickness of your project.
Step 3
Thread your tying shuttle with yarn. Begin at the first cross section next to the start peg and weave your tying shuttle down through the top hole. Bring the shuttle up through the bottom hole and tie the yarn off. Move to the next cross section and repeat. Continue this process until every cross section has been tied securely.
Step 4
Finish the piece by either gently removing the outside yarn links from the loom pegs, or cutting them with scissors.
Video of the Day