Things You'll Need
Scratch awl
Flat screwdriver
Paintbrush
Wood rot hardener
1/4-inch hardboard scraps
Clamp
Duct tape
Wood epoxy
Razor knife
Scrap piece of solid wood
Hammer
Chisel
Wood glue
Block plane
Orbital sander
80-grit sanding disks
150-grit sandpaper
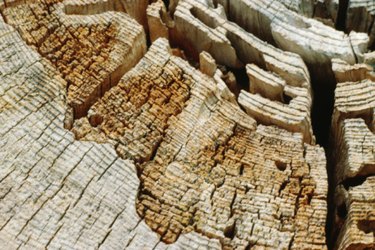
Despite its name, the wood disease known as dry rot is caused by moisture-seeking fungi. Any area of a home or other wooden structure having a prolonged exposure to moisture is subject to dry rot. Many symptoms of dry rot are clearly identifiable. But if the damage is not visible, a probe can be used to test suspected areas for dry rot. Remedies and cures for this disease range from wood repair with the use of mold inhibitors and epoxies, to wood replacement. When repairing or replacing dry-rotted wood, you must be sure to eliminate the possibility of water re-entering the wood by directing the source of moisture away from the wood.
Wood Rot Repair
Step 1
Inspect the damaged area using a scratch awl.
Video of the Day
Step 2
Scrape or chip away the dry-rotted area with a screwdriver.
Step 3
Apply wood hardener to the rotted area with a paintbrush and allow it to dry.
Step 4
Use hardboard scraps to create a mold around the rotted area and tape or clamp them to the undamaged surface.
Step 5
Mix epoxy with wood rot hardener as specified in the product instructions.
Step 6
Fill the damaged area until it is slightly raised above the surface of the wood.
Step 7
Allow the epoxy to dry to a rubber-like consistency and remove the molds from the piece.
Step 8
Cut the excess epoxy flush to the wood surface with a razor knife.
Step 9
Sand the epoxy patch with an orbital sander and 80-grit sanding disk.
Step 10
Finish sanding the repair with 150-grit sandpaper.
Wood Rot Replacement
Step 1
Cut a scrap piece of wood to the size needed for the repair.
Step 2
Lay the scrap piece on the area in need of repair and trace around the perimeter of the scrap.
Step 3
Use the chisel and hammer to cut the lines that were previously traced.
Step 4
Apply wood glue to the adjoining surfaces of the scrap and the damaged piece, and clamp them together.
Step 5
Remove the clamp after the glue has dried and use a block plane to shave the scrap flush with the existing surface and smooth it with 150-grit sandpaper.
Tip
If the hardened epoxy has visible air holes in the surface, reapply a small amount and sand the area smooth. Be certain the area to be filled with epoxy is free from moisture before applying the wood rot hardener.
Warning
Wear protective gloves to keep epoxy from getting on your hands.
Video of the Day