Things You'll Need
Measuring tape
Screwdriver
Roman shades hang inside a window casing to cover the window without overlapping the sides or top on the walls. Roman shades may have either a pocket at the top or rings to insert a spring tension rod for hanging. Roman shades pull up with strings on each side and fold into sections at the rear to let light in a room. A spring tension rod compresses a spring inside to apply pressure on both ends inside the window casing and hold the shade in place.
Step 1
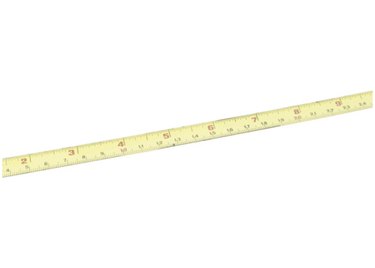
Stretch a measuring tape inside the top of the widow casing horizontally. Measure the inside window frame from the left side to the right side. Add one inch to the measurement.
Video of the Day
Step 2
Place one hand on each end of a spring tension rod and push both hands in to compress it to the measurement plus one inch. Hold the rod in position with one hand and insert a screwdriver in the plastic lock stop screw. Turn the screw clockwise to hold the rod in position at this length.
Step 3
Place the Roman shade on a table. Slide the tension rod into the pocket or rings on the shade. Insert the rod while pulling the shade onto it until the rod protrudes from the other side of the shade.
Step 4
Insert the one end of the rod into the window casing top and hold it in position. Compress the other side of the rod until it is slightly shorter than the opening. Place this side in the window casing at the top and release both ends.
Tip
Not all window casings are level at the top. Adjust the spring tension rod by compressing it and moving either end to obtain a level horizontal line.
Hang additional Roman shades an equal distance from the top of the window casing for a uniform appearance.
Some spring tension rods are not adjustable and do not have a lock stop screw. Simply press both ends inward to install them into the window casing.
Video of the Day