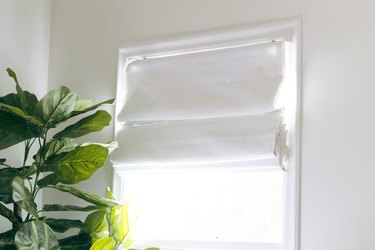
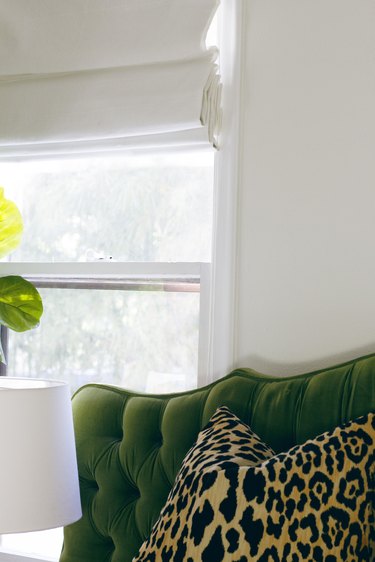
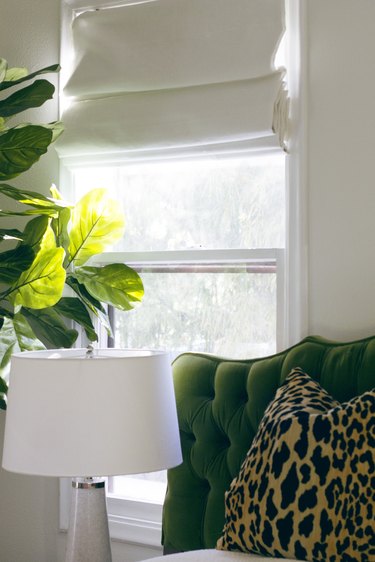
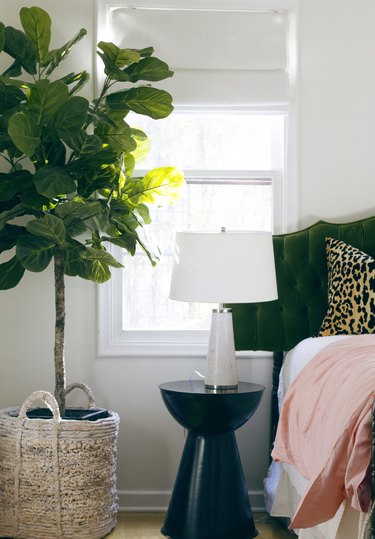
A roman shade gives an elegant look to any space and adds great function. Custom shades can be extremely expensive, but what if you could cut costs by making your own? Follow this tutorial to make your own no-sew roman shades.
Things You'll Need
Mini blinds equal to the size of the window
Fabric (add 2 inches to the width and length of the window)
Iron-on hem tape
Fabric glue
Scissors
Step 1: Open Mini Blinds and Lay Flat
Lay the mini blinds on a flat surface, and extend as far as they will go.
Video of the Day
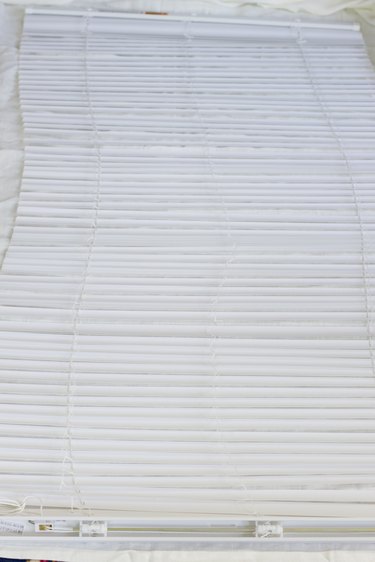
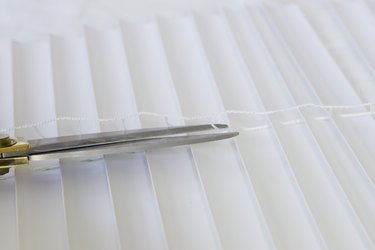
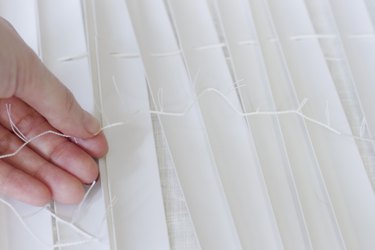
Step 2: Cut the Ladder-Like Strings from Mini Blinds
Cut away the ladder-like strings that are used to open and close the blinds.
Warning
Do not cut the strings that go through each blind. These strings are used to lower and raise the blinds, which you will need.
Step 3: Remove Ladder-Like Strings
After cutting through the ladder-like strings, remove from the blinds. You will be left with only the strings that lower and raise the blinds.
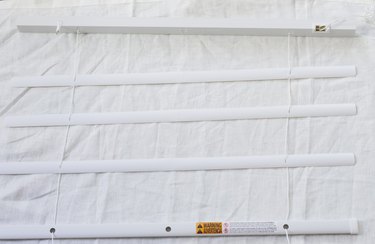
Step 4: Decide How Many Folds Your Shade Will Have
The number of folds is the number of slats you will want to leave.
Step 5: Remove Extra Slats
This shade has four folds, so four slats were left on the strings including the bottom weight that counts as one. To remove the extra slats, remove the plugs on the bottom weight, and remove the weight to slide off extra slats.

Step 6: Put Bottom Weight Back on the Strings
After the extra slats have been removed, add the bottom weight back to the strings and spread out the slats that you left for the folds.
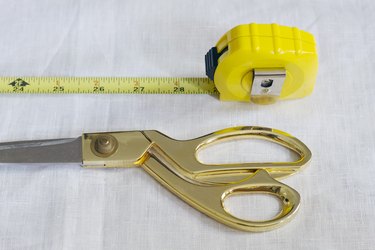
Step 7: Iron and Cut Fabric
Cut fabric 2 inches wider and 2 inches longer than the window dimensions. The window pictured measures 27 inches by 57 1/2 inches, so the fabric was cut to 29 inches by 59 1/2 inches.

Step 8: Hem Around the Fabric Edges
Using a sewing machine or hem tape, make a 1-inch hem around the fabric.
Tip
If your fabric is lightweight, you might need to add blackout fabric to the back of the shade to hold the shape.
Step 9: Space Slats Evenly
This shade is 60-inches tall, so each slat is spaced every 15 inches. Leave 2 inches at the top of the shade to cover the top bar.
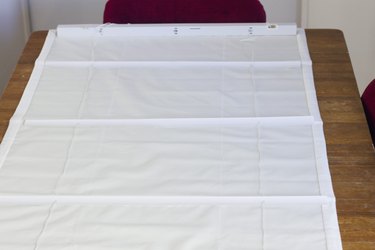
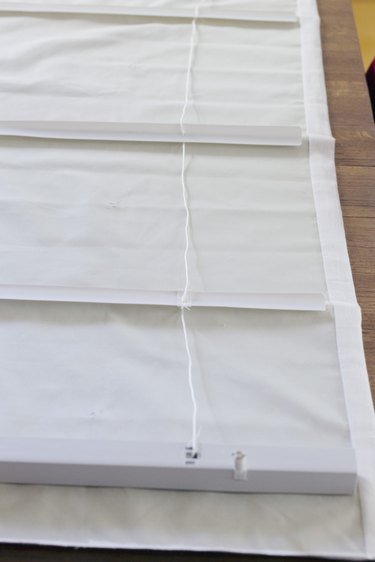
Step 10: Glue Down Slats
Using fabric glue, adhere the slats to the fabric. Ensure that the strings are tight. If needed, adjust the length with the plugs on the bottom weight. Careful not to get any glue on the strings!
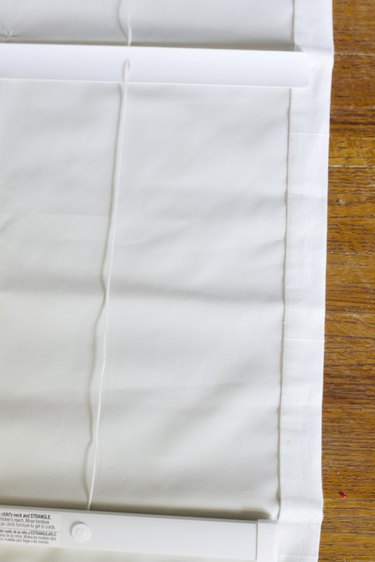
Step 11: Fold Fabric Over Top and Glue
Fold fabric over the top bar and glue down.
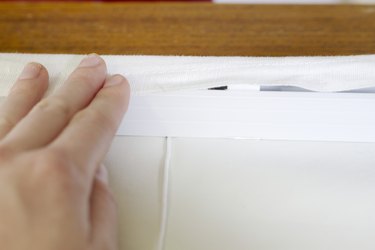
Step 12: Mount Shade
Use mini blind hardware to mount the shade to the inside of the window.
Video of the Day