Things You'll Need
Ceramic tile
Cement underlayment
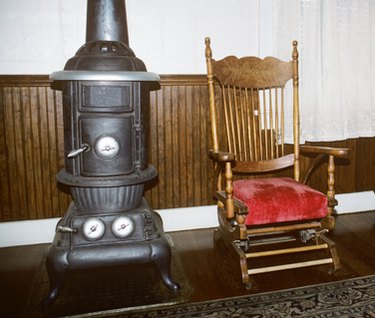
Wood stove
Tile saw
Screwdriver
Screws
Trowel
Tile grout
Tile mortar
Although wood stoves are not as widely used as they once were, they are still used as heat sources in some homes. They heat more efficiently than a fireplace, but they can pose a safety hazard if proper safety precautions are not followed. In order to protect your home when using a wood stove, it is vital that you install a simple wall shield around the stove to protect your home from fire.
Step 1
Inspect your stove. The legs must place a minimum of eight inches between the bottom of the stove and the floor.
Video of the Day
Step 2
Install the cement underlayment on the walls and floor in the location where the stove will be installed. Pre-drill holes in the underlayment, and screw it down to the existing flooring and wall covering.
Step 3
Trowel the tile mortar on top of the cement underlayment, making sure that you only trowel a small area at one time.
Step 4
Install the ceramic tile. When you reach corners where you do not need to lay a full piece of tile, cut the tile to the appropriate size with the tile saw.
Step 5
Grout the tile, remove the excess with a wet sponge, and allow it to dry for two to three days.
Step 6
Install the wood stove in the heat-safe area, maintaining a minimum of 18 inches of clearance all the way around the stove.
Tip
Alternatives to installing ceramic tile heat shields are installing the wood stove on bare concrete, or using a U.L.-approved floor and wall mat.
Warning
Get your stovepipe cleaned once a year if you use it on a regular basis. This will prevent the creosote buildup inside the stovepipe from catching on fire.
Video of the Day