Things You'll Need
Fine steel wool
Clean cloth
Water
1/2 tsp. liquid dish detergent
Terry cloth
Metal primer
Paintbrush
Waterproof caulk
Caulking gun
Putty knife
Acrylic latex paint
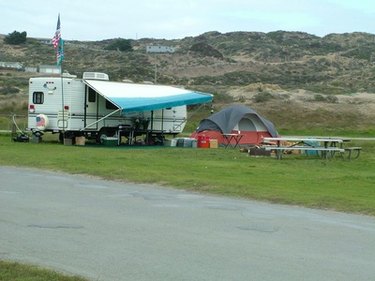
Aluminum siding serves multiple purposes on your RV: it protects against weather and pests, adds stability to the frame and adds character, according to the My Great Home website. Frequent traveling and exposure to a variety of weather conditions causes aluminum siding to develop corrosion spots overtime. If these holes are repaired promptly, you can prevent the corrosion from spreading. Extremely corroded aluminum siding eventually has to be replaced altogether. Fortunately, basic supplies are effective at repairing corrosion holes in RV aluminum siding.
Step 1
Rub fine steel wool gently over the holes to remove loose corrosion. Lightly sand the corroded holes down to the bare metal.
Video of the Day
Step 2
Dampen a clean cloth with water and 1/2 tsp. of liquid dish detergent. Wash the damaged areas with the soapy cloth to remove dirt and grime. Clean the holes thoroughly to ensure the metal can bond properly with the primer you will use.
Step 3
Rinse the soapy areas of the metal with water. Dry the metal thoroughly with a terry cloth.
Step 4
Coat the exposed metal holes and surrounding areas with metal primer, using a paintbrush. Allow the metal primer to dry according to the manufacturer's directions.
Step 5
Fill the holes with waterproof caulk, using a caulking gun. Smooth the caulking with a putty knife to blend it with the siding. Allow the caulk to dry overnight or the amount of time recommended by the specific manufacturer.
Step 6
Apply a coat of acrylic latex paint over the damaged areas, using the paintbrush. Use a color of paint that best matches the RV's siding. Allow the paint to dry according to the manufacturer's directions.
Video of the Day