Things You'll Need
Newspaper
Acrylic or latex paint in desired colors
Disposable container or paint tray
Paintbrush
Low-tack painter's tape
Large sponge with rounded corners

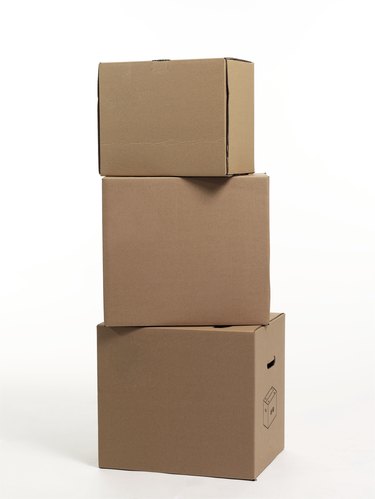
Paint turns a basic, boring cardboard box into anything you'd like: a storage area for paperwork, a handmade gift box or a bin for stray toys. Opt for a plain, sturdy cardboard box when possible; a box that has writing or a design on it may require an extra layer of the base paint color for coverage.
Cardboard-Painting Basics
Step 1
Cover a work surface with newspaper, setting the box atop the paper. A sturdy corrugated box accepts paint better than flimsy cardboard such as a cereal box; plus, thin cardboard may become soggy from paint.
Video of the Day
Step 2
Pour some of the acrylic or latex paint into a disposable container or paint tray. Brush the paint over the cardboard in a single layer, rather than going over the same area multiple times. This helps prevent the cardboard from becoming too wet. Allow the paint to dry for an hour or two, or until it looks and feels completely dry. Apply a second coat of paint if lettering or the original cardboard color is still visible beneath the base coat.
Step 3
Flip the box over to paint areas that still need paint, such as the parts that had rested upon the newspaper. Allow the paint to dry for an hour or so before handling the box.
Decorative Design
Step 1
Give a plain box a decorative makeover with at least two colors of paint and painter's tape. Paint a base coat over the box using a latex or acrylic paint and a paintbrush, allowing the paint to dry for an hour or two, or until it no longer looks or feels wet.
Step 2
Apply strips of low-tack painter's tape over the base coat to create stripes, chevrons or even a checkerboard pattern for a decorative box such as a storage bin, gift box or child's jewelry box. Create a zebra-stripe design with tape by tearing off the straight edges to make them jagged. Apply the strips at angles to one another.
Step 3
Paint the box with a second shade of acrylic or craft paint, going over the edges of the tape. Allow the paint to dry for 20 minutes or so, then carefully peel the tape away. Removing the tape after a short time helps prevent it from peeling the cardboard's paper coating away.
Custom Playtime Creations
Step 1
Paint one or several large boxes in a grout shade such as tan or gray using latex paint, allowing the paint to dry completely.
Step 2
Pour some latex paint in a brick color, such as gray, tan or red, onto a disposable plate, using a shade different from the base color. Squirt a second similar color into the first, if desired, to create a color variation for the bricks.
Step 3
Dip a sponge into the paint and dab it onto the box in the top left corner. Dab the sponge on the box again parallel to the first sponge mark, leaving 1/4 inch between stamped designs.
Step 4
Dip the sponge into the paint again and continue dabbing it along the box to create a row of bricks. Shift the sponge slightly to the left or right for the second row so the brick pattern staggers across the box, much like a real brick design. Continue the sponging process until the entire box has a brick pattern on it.
Tip
Spray paint may be used in place of acrylic or latex paint for small boxes. Stick with brush-on latex paints for large areas, as spraying a large structure such as a refrigerator box requires many cans of spray paint.
Warning
Do not place freshly painted areas of the cardboard atop newspaper, or the paper will stick to the box.
Video of the Day