Things You'll Need
Hardwood floor board (same size and style as the extracted one)
Circular saw
Sharp wood chisel
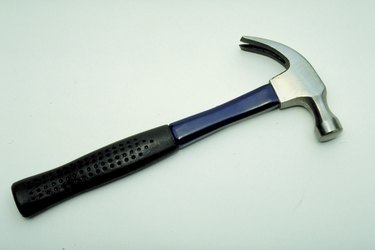
Hammer
Razor knife
Carpenter's glue
Finish nail gun
You're walking across your hardwood floor and you feel it sink under your feet in one spot. Closer examination finds the wood of one floor board (or a group of them) is starting to rot and soften. It has to come out, or that rot will spread to the rest of the floor. Hardwood floors are connected at the sides by tongue-and-groove fittings, so getting the board out, and getting the replacement board in, takes some finesse, since you can't just pull it straight up. See your flooring supplier about getting the right replacement board.
Step 1
Set the depth of the circular saw blade to match the depth of the floorboards, by sitting the saw on the edge of the replacement board and letting the blade hang over the side, then tightening it. The depth is generally between 3/4 inch and 5/8 inch.
Video of the Day
Step 2
Set the front end of the saw's flat blade plate on the damaged board, with the blade held up off the surface and pointing in the same direction as the length of the floorboard. Start the saw and lower the blade into the wood. Run it forward along the length of the board, making sure not to let it cut into the edges. Make multiple passes along the length of the board, repeatedly, making the cuts cross over each other until pieces of the floor board start coming out in chunks.
Step 3
Cut out as much of the board as you can with the saw, making sure you do not cut into the surrounding boards. Use your chisel and hammer to pry and knock the sides of the board inward, off the surrounding boards and into the space that you've created in the middle of the board. Get all the pieces of the board out.
Step 4
Lay your replacement board face-down on a flat work surface. Cut off the bottom strip of wood from the groove that runs along one long edge of the board, using your razor knife. Spread glue in the groove, and along the top of the tongue on the other side of the board.
Step 5
Position the replacement board over the space where you took out the damaged board. Set the tongue of the replacement board in the groove of the adjacent board, pressing it in tightly. Let the other edge of the board (with the altered groove) drop down over the tongue of the board on the other side.
Step 6
Nail the replacement board in place by driving nails about every foot, along both edges of the board.
Warning
Wear eye protection when extracting the damaged board.
Video of the Day