Making paper crafts, such as easy origami or basic geometric shapes, like paper cubes and cylinders, is a great math activity or simply a fun and creative hobby. You can find plenty of origami tutorials, full videos and playlists on TikTok and other sites, but you can also follow this step-by-step tutorial suitable for beginners to make a DIY paper cylinder.
Visualizing 3D shapes can be a challenge, whether that be a rectangular prism, cuboid, triangular pyramid or other geometric shape. It is both helpful and fun to have a visual representation of the math shapes to better understand the questions in a given math project.
Video of the Day
Video of the Day
Knowing that a cylinder is a three-dimensional geometric figure with same-size parallel bases might not be necessary for your day-to-day life. However, when attempting to create this shape from a sheet of paper, the aforementioned characteristics are vitally important. Despite the tricky composition, cylinders are relatively easy to create, and oftentimes, the hardest part of the process is deciding on the size of the cylinder and the color of your paper.
Things You'll Need
Paper
Ruler or tape measure
Tape
Scissors
Make an Open Paper Cylinder
1. Choose the cylinder size
Determine the height you want for your cylinder.
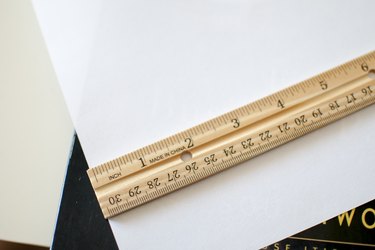
2. Cut the piece of paper to the correct size
Measure the paper and cut it to the desired dimensions as needed. For example, cut your paper so two sides are 6 inches long for a 6-inch cylinder. If you want a 12-inch or a 9-inch-tall construction, you won't have to modify a standard-size sheet of craft paper or A4 paper. If you are making multiple cylinders, you can use the first one as a template.
Tip
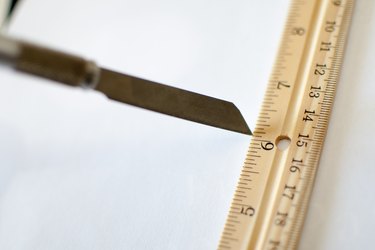
If your paper is considerably wider than the desired diameter, you can cut the sheet down at the same time that you measure and cut for the height.
3. Prepare tape to secure the paper
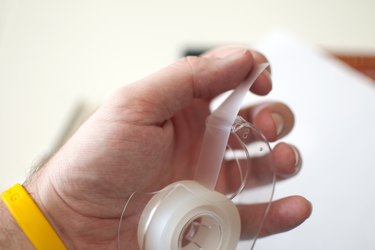
Place small tabs of tape on one end of the paper with the sticky side facing up. The tape goes on the sides perpendicular to those you measured for the height.
Tip
You can also use glue or glue tabs to hold your cylinder together.
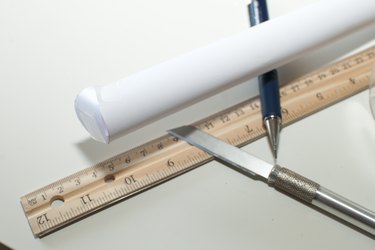
4. Roll and tape the paper into a cylinder shape
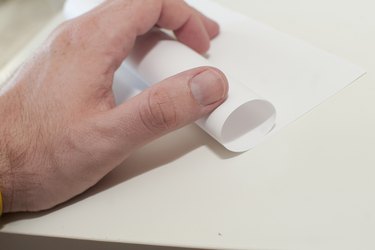
Roll the paper until the cylinder is the desired diameter. Press the tape tabs to the roll.
Make a Closed Paper Cylinder
1. Make an open cylinder
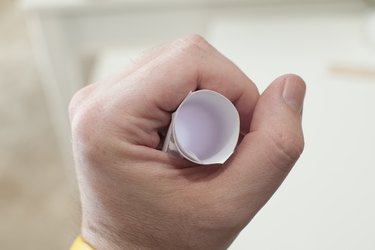
Make an open cylinder following the instructions in the first section.
2. Cut circles to close the cylinder
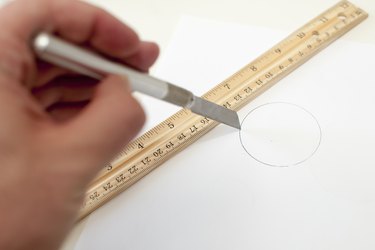
Cut two circles with the same diameter as the cylinder.
Tip
For extra stability in a closed cylinder, cut the round bases from a thicker material, such as paper plates or card stock.
3. Prepare tape to secure the ends of the cylinder
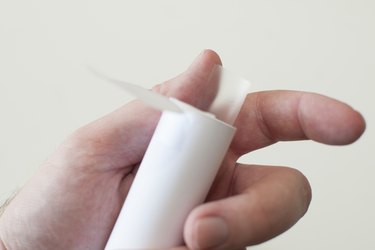
Fold 1-inch tape tabs in half. Place them inside the open cylinder with the fold on the paper edge and the extra part of the tab facing the inside of the cylinder.
4. Finish the closed cylinder
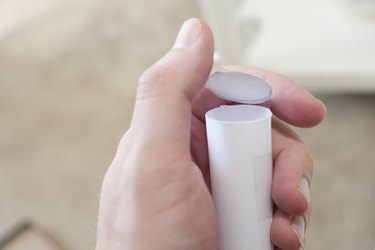
Press one of the circles onto the tape tabs. Repeat at the other end of the cylinder to complete the cylinder.