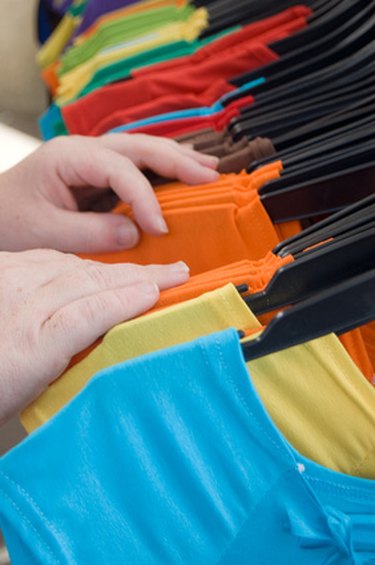
Things You'll Need
Digital photo
Printer
Iron-on transfer paper
Scissors
Pre-washed shirt
Towel
Sheet of paper
Iron

Getting pictures transferred onto shirts was once a challenging project. No longer does it require the work of a professional. Today, crafters can choose from many brands of transfer papers, and can create transferable pictures with the help of a household computer and printer. Now it is possible to make transfers using family photos, clip art or artist-made graphics to place onto shirts for people of all ages in a variety of styles and sizes.
Step 1
Edit the photo by cropping or resizing it with photo-editing software. If you do not own photo-editing software, download Photoscape, GIMP or Irfanview free.
Video of the Day
Step 2
Print a test image of your photo image to make sure it looks ready to print on transfer paper. Colors vary between your computer screen settings and the printer settings. This helps you know what your finished project will look like and allow to you edit the photo accordingly and not waste transfer paper.
Step 3
Place a sheet of transfer paper into the paper feed of the printer, making sure the transfer side will receive the image and not the back side. Print out the picture and allow it to dry before touching the transfer area.
Step 4
Cut away excess transfer paper. Any blank transfer will also be applied to the shirt unless it is cut away.
Step 5
Smooth out the shirt on one towel over a smooth, hard surface. Place the transfer, image side against the fabric, and position it to where you want to place it on the shirt.
Step 6
Iron the transfer onto the shirt according to the transfer paper manufacturer specifications. Using a sheet of paper over the transfer will protect the iron surface from any transfer residue sticking.
Step 7
Allow to cool per manufacturer instructions and remove the paper gently. Let cure 48 to 72 hours before wearing or washing the garment. Wash shirt inside out to protect the transfer.
Tip
If this is your first time using transfer paper, it is helpful to practice printing and applying transfers on an old shirt or piece of fabric.
Video of the Day