Things You'll Need
Metal to be engraved
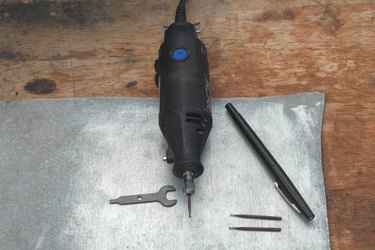
Dremel
Dremel engraving bits
Pencil or permanent marker
Metal engraving and etching is a great way to turn plain metal objects into precious keepsakes or just to label an item for a useful purpose. Whether you're engraving on soft or hard metals, thick or thin, you can use a Dremel rotary tool to create grooves, frosted textures or simple lines. Create words, images or handy symbols on small or large brass objects.
Step 1
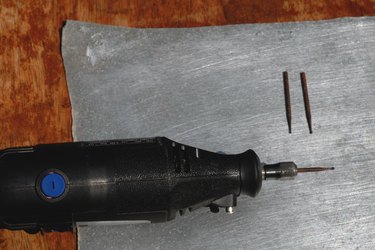
Determine the types of bits you'll need for your project. Most Dremel bits made of metal are appropriate for use on soft metals like aluminum, copper or thin sheet steel. With thicker steel, brass and other hard metals, attempting to engrave will be unsuccessful and wear out standard bits, so you'll need to get bits with diamond wheel or diamond burr coating. If in doubt about what bit is best, use the harder bit since there's no harm in the bit being too durable.
Video of the Day
Step 2
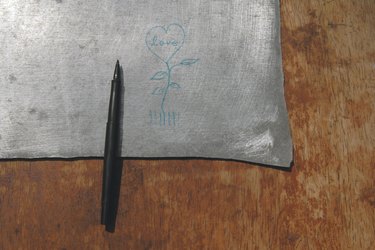
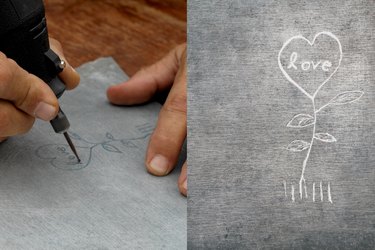
Draw the engraving on the metal temporarily. Use graphite pencil or, if the metal is too smooth, use permanent marker (remove mistakes or leftover ink with nail-polish remover). If desired, transfer computer text or images by printing them on paper, then cutting out the shapes with a craft knife in order to make a one-time-use stencil.
Step 3
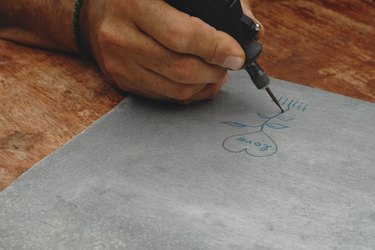
Do a groove engraving. If the metal you're cutting is thick enough and you want to create an engraved groove with noticeable depth, use an engraving bit and start with the Dremel on low speed. Trace the drawn lines lightly with the tip of the tool in order to create a basic scratch shape of the engraving. Run over these lines repeatedly until the shape you want beings to emerge, gradually increasing the speed as you do so. Reduce the speed again once the lines are mostly finished so that you can carefully clean up the edges.
Step 4
Use a light touch for portions that are more "etched" or lightly frosted. Fit the Dremel with a carving or grinding bit and practice on a piece of scrap metal until you've gotten the hang of the bit you're using and how to create the textures you want with it. This will be somewhat different for every bit and every type of metal. Experiment with the levels of pressure you apply with your hand and the speed setting you use for the Dremel.
Video of the Day