Things You'll Need
Screw driver
Graphite
New knob (optional)
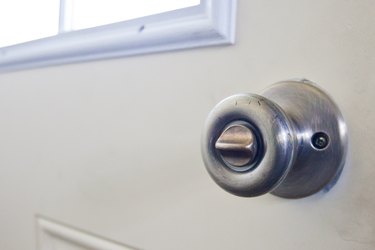
Door knob locks can be frustrating. While keeping others out is the goal, from time to time a sticky lock can lock can hold a small child in or prevent you from opening the door. When this happens, it is time to make the repair as soon as possible. There are two simple things that you can try to make the knob work properly again.
Troubleshooting from the Outside
1. Check for obvious signs of wear
Video of the Day
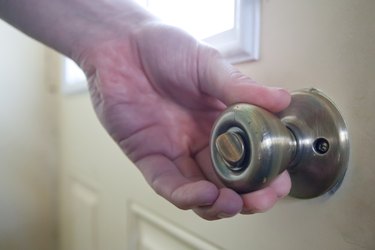
Check the knob for obvious signs of wear or damage. Bent knobs may cause the lock to bind. Straighten the damaged area with a small screwdriver or other tool. Test for proper function. Severely damaged or worn knobs will need to be replaced.
Video of the Day
2. Loosen the screws
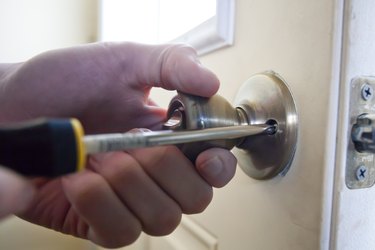
Loosen the screws on newly installed or adjusted knob locks. Use a screwdriver to loosen the screws on either side of the base of the handle. Tightening screws too tight can cause the lock and knob mechanism to bind up.
3. Test the knob
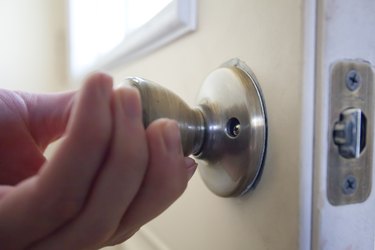
Test the knob once screws are loose to see if the lock is functioning correctly. If so, tighten the screws until they are just snugged down. Do not overtighten. Test for proper function, and make needed adjustments.
4. Lubricate knob locks with graphite
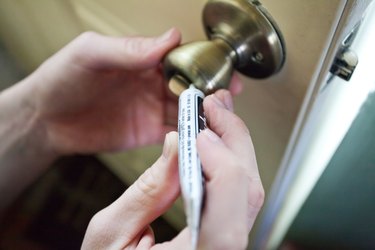
Lubricate knob locks with graphite. Squirt a small amount of graphite into the seam around the lock. Wiggle the lock toggle or thumb button as you apply the graphite to work it into the mechanism. Test the lock for proper function. Continue to the next section if this does not solve the problem.
Troubleshooting from the Inside and Replacement
5. Lubricate the inside of the mechanism
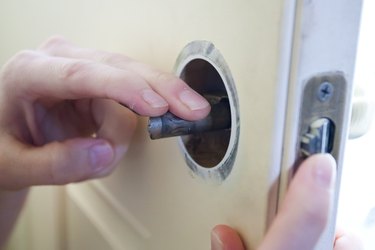
Lubricate the inside of the mechanism if the lock still does not function. Remove the two screws, one on either side of the handle, and remove the knob. It will come in two pieces. Leave the striker bolt in place. Check to see that the door striker (the spring-loaded bolt that latches the door) pushes in and springs back easily.
6. Add graphite along the moving pieces
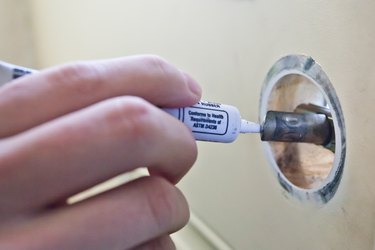
Add graphite along the moving pieces of the mechanism to aid in proper function. Apply graphite to the inside of the lock toggle or thumb button. Replace the knob and test for function.
7. Replace damaged knobs
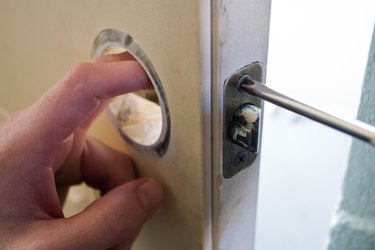
Replace damaged knobs that do not respond to troubleshooting. With the knob removed as in step 1, remove the two screws in the plate surrounding the striker on the edge of the door. Pull the striker from the door.
8. Place the new striker into the new hole
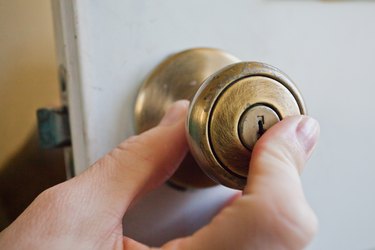
Place the new striker into the new hole, and screw the plate in place using the new screws provided with the hardware. Set the two pieces of the knob in place, pushing them through the striker mechanism from either side. Consult the instructions that came with the hardware for specific illustrations and guidance.
9. Install the new screws
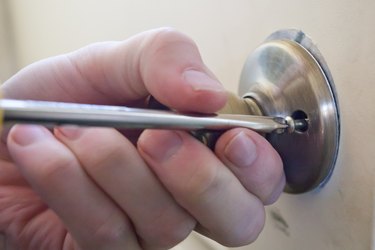
Attach the new knob by installing the new screws through the holes, one on either side of the handle base plate. Do not overtighten. Test the lock to ensure proper function, and make any needed adjustments.