Things You'll Need
Fabric
Smocking dots
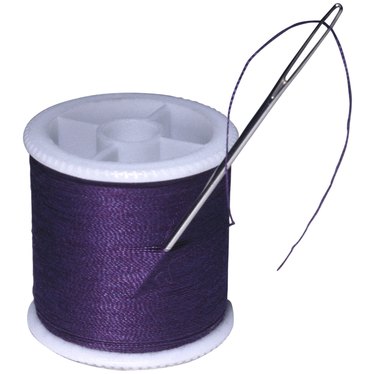
Needle
Thread
Embroidery thread
Smocking has long been popular for adding pleated, embroidered designs on clothing. It is especially popular in children's clothing. For a baby dress, smocking is most commonly done on the yoke. In making a smocked baby dress, make the smocked yoke first, as a separate piece, then sew the dress together. Typically, any part of the dress to be smocked will require about three times as much fabric as if it were not smocked. A pattern for a smocked baby dress will take this into account for you.
Step 1
Apply the smocking dots transfer to the back side of the fabric to be smocked. Follow the directions that come with the transfer.
Video of the Day
Step 2
Gather up the pleats. Using a needle and thread, make a running stitch along the back side of the fabric, picking up a little of the fabric at each of the transfer dots. At the end of the row, leave some thread for pulling. Do this for each row of smocking dots. Now pull on the threads evenly, gathering the fabric into pleats. Tie off the threads in pairs to hold the pleats in place.
Step 3
Embroider the front of the pleated fabric to permanently hold the pleats in place. Use any smocking stitch you desire. A simple stitch is a basic outline stitch.
For the outline stitch, stick the needle (from the back) through the left side of a stitch, starting on the far left side. Then insert the needle in the next pleat on its right side, coming back up and out at that pleat's left side. Continue across the pleats to the right side. In pulling the thread through, always keep the thread on the same side of the needle. It can be either above the needle or below; just be consistent.
Step 4
Make several rows of your smocking stitch, spacing them either closely or farther apart as desired.
Step 5
Cut and remove the initial gathering threads once the embroidery is holding the smocking into place.
Video of the Day