A weighted blanket is a simple way to add extra coziness to your sleep. Who wouldn't want to be swaddled in comfort as they're whisked off to dreamland? While more research needs to be done on the benefits of weighted blankets, many people swear by them as a key to better sleep and feeling more secure at nighttime.
Even so, weighted blankets can be quite expensive. No worries. We're all about DIY projects, and we've come up with an easy, homemade weighted blanket tutorial with supplies that can be found at your local craft store or on Amazon. You can also use whatever fabric you have on hand, even a duvet cover, as long as it's a durable fabric. Best of all, our DIY blanket tutorial for a homemade weighted blanket is easy to follow for beginner and advanced sewers alike (and you don't need to be a quilter to follow the steps!). You'll just need to know the blanket user's body weight so you can determine the blanket filling (we used a kitchen scale).
Video of the Day
Video of the Day
Read on for our step-by-step guide to creating a DIY weighted blanket for a good night's sleep. Let's get started!
Warning
According to the American Academy of Pediatrics, weighted blankets, weighted sleepers, weighted swaddles or other weighted items should not be used on or near babies. Some experts and pediatricians also recommend caution when using weighted blankets for children of all ages. Before using a weighted blanket for your child, check with their pediatrician.
Even adults should be cautious when it comes to weighted blankets. Generally, a weighted blanket should weigh approximately 10% of your total body weight, according to the Sleep Foundation. It’s a good idea to consult your doctor before using a weighted blanket, especially if you have a health issue like a respiratory disease or sleep disorder.
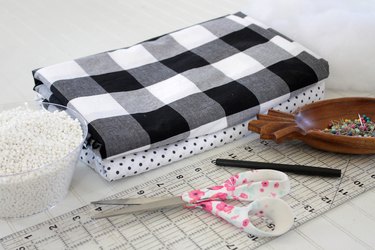
Things You'll Need
1 1/2 yards of pre-washed cotton fabric for top of blanket
1 1/2 yards of pre-washed cotton fabric for bottom of blanket
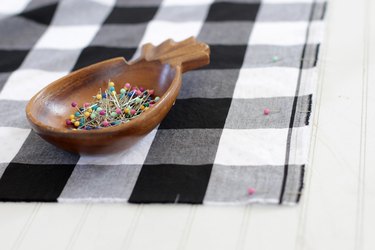
Pins
Washable marker
Measuring tape or straight edge
Kitchen scale
Poly pellets
Poly-fil stuffing
Sewing machine
1. Sew blanket
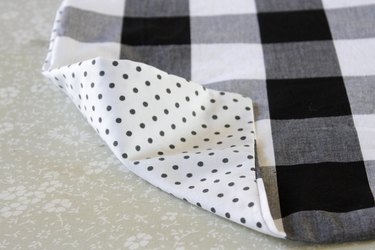
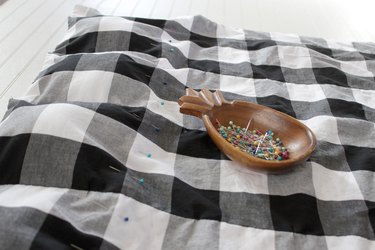
Step 1: Place the two pieces of fabric with right sides together. Pin the two long sides and one short side.
Fold out 1/2 in. on both raw edges of fabric on the open side and pin in place. Then, sew a double seam on the three pinned sides. Be sure to remove the pins as you sew.
Press over the 1/2-inch folds on the open side. Turn the blanket right side out and press the seams.
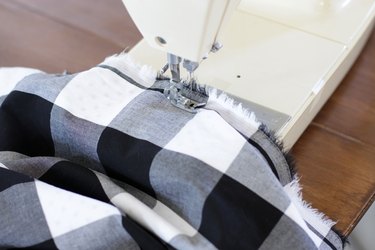
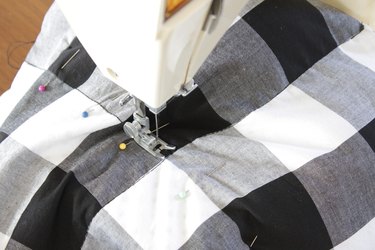
2. Make blanket columns
Measure, mark and sew every 6 in. to create columns down the blanket. Each column will have an opening at the top.

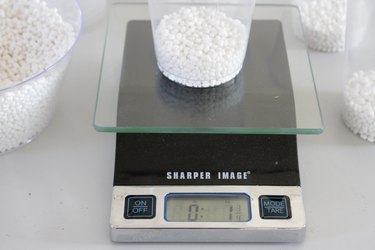
3. Determine blanket filling
Weighted blankets should weigh about 10% of a person's total body weight. So, if you're making a weighted blanket for someone whose total weight is 50 pounds, you need to buy a 5-pound bag of poly pellets. To determine how many pellets to put in each pocket, first convert the pounds to ounces. For example, 5 pounds of pellets converts to 80 ounces. Divide the ounces by the number of pockets in your blanket. On this blanket, the pockets will be 6 in. by 6 in., so there are 54 pockets. The calculation for 80 divided by 54 is 1.5, so you'll need to measure 1.5 ounces of poly pellets for each pocket.
4. Fill blanket
Pour 1 1/2 ounces of poly pellets into the column and then push a handful of stuffing down to the bottom of the column. Repeat this in each of the seven columns.

Pouring the poly pellets first and then adding the stuffing next will keep the pellets away from the seam line.

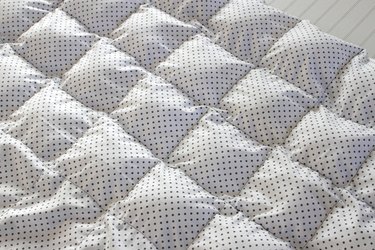
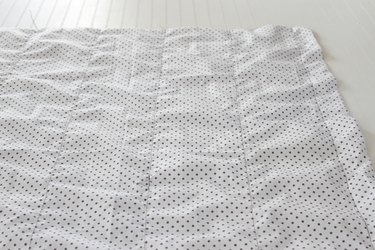
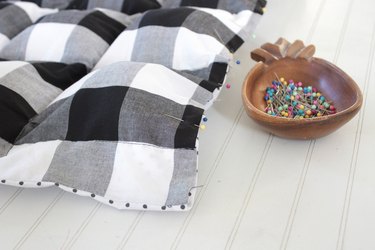
5. Create "pockets"
Pin and sew across the blanket to form 6-in. pockets filled with pellets and stuffing.
6. Fill "pockets"
Go back to the top and pour in the pellets as filler. Then, push the stuffing down to the bottom of each of the columns again. Pin and sew across to create another row of 6-in. pockets. Repeat this until all the pockets are filled. Pin and sew across the top of the blanket with the pressed raw edges tucked in.
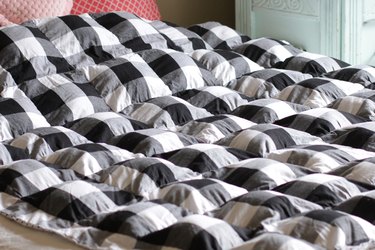
7. Use your homemade weighted blanket!
Now you're ready to relax and use your weighted blanket. Sleep tight!