Things You'll Need
Box
Ruler
Scrap paper
Pen or pencil
Self-adhesive contact paper
Scissors or craft knife
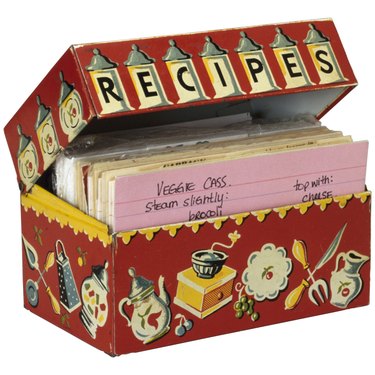
Create decorative storage solutions by embellishing inexpensive boxes with contact paper that coordinates with the surrounding room decor. Sold at home improvement warehouses, dollar stores and grocery shops, self-adhesive contact paper is available in a variety of shades, patterns and motifs. Use the material to cover containers that range from shoe boxes to cardboard magazine holders to large shipping boxes that can hold items such as trinkets, craft supplies or gifts for family members, teachers and friends.
Step 1
Measure the top and sides of the box's lid with a ruler and write the measurements down on scrap paper with a pen or pencil. Repeat the process with the bottom and sides of the box.
Video of the Day
Step 2
Add 2 inches to the length and width of the top and bottom of the box and write the new measurements down. If the top of the box measures 5-by-8 inches, for example, jot down 7-by-10 inches. Add 1 inch to the height of each side of the lid and box. If one side of the box measures 8 inches across and 4 inches high, for instance, the new measurement would be 8-by-5 inches.
Step 3
Mark the extended measurements onto the backing sheet of the self-adhesive contact paper. Cut the pieces of contact paper out with scissors or a craft knife.
Step 4
Cover the top of the lid by removing the backing sheet from the contact paper and placing the contact paper face down on the table. Center the lid face down on the contact paper and press the lid onto the adhesive.
Step 5
Flip the lid over and smooth the paper with your palms. Use your fingertips to press the excess paper down onto the sides of the lid—use scissors to snip off the flap of paper that sticks out at each corner or simply fold the flap to the left or right. Repeat the process to cover the bottom of the box.
Step 6
Affix the paper to one side of the lid by removing the backing sheet from the piece of contact paper. Align the paper with the top edge of the lid and press the paper down. Fold the excess paper "into" the lid and press it down. Repeat the process with the remaining sides of the lid.
Step 7
Attach the contact paper to one side of the embellished box by removing the backing sheet from a piece of contact paper. Align the paper with the bottom edge of the box and smooth the paper with your palm to adhere it. Fold the excess paper into the box and press it against the side. Repeat the process with the remaining sides of the box.
Tip
If the contact paper you have isn’t the self-adhesive variety, affix the pieces to the box with strips of double-stick tape or a glue stick.
Warning
When using a craft knife to cut the contact paper, protect your work table by covering it with a self-healing cutting mat sold at sewing, office and art supply stores.
Video of the Day