
Things You'll Need
Glass ball ornament
Printer paper
Pencil
Ruler
Scissors
Computer
Color printer
Digital photo
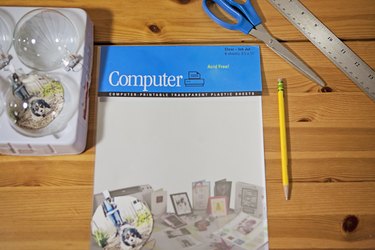
Transparency paper
Tweezers

Once a year, special ornaments come out of storage and bring a deluge of memories. They also make wonderful gifts and mark special occasions. If you are hoping to save a little money this year and make a gift that will be treasured for years to come, why not make a clear glass ornament with a photo inside. It will look beautiful sparkling among the blinking lights and will serve as a visual reminder of cherished memories.
Step 1: Purchase a Clear Glass Ornament
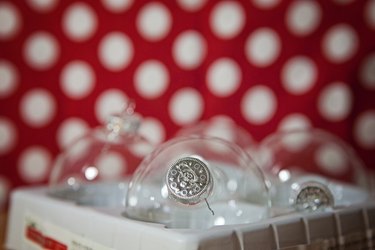
Purchase a clear glass ornament from a craft supply store. Larger ornaments are more conducive to detailed pictures.
Video of the Day
Step 2: Trace, Measure, Cut
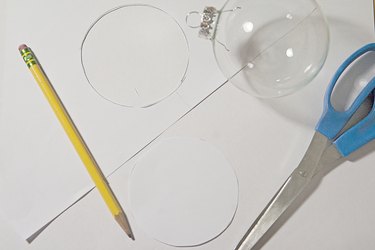
Set the ball on its side and trace around the ball onto a piece of computer paper. Measure the diameter of the circle you have drawn. Cut out this circle, cutting just inside the mark. You want your finished circle to be a little smaller than the one you drew.
Step 3: Choose the Picture
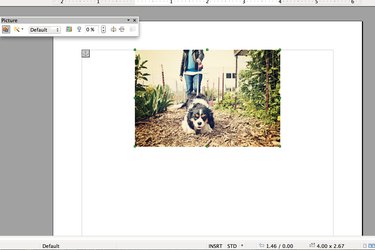
Choose the digital photo you want to display inside the glass ornament. On your computer, create a new Word processing document and insert the photo into the document.
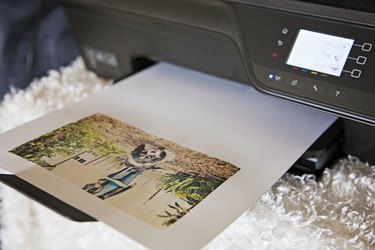
Step 4: Edit the Picture, Print the Test Sheet

Resize the photo so it is as wide and tall as the diameter of your circle. If your photo is rectangular, make sure the circular portion you will cut out is the size of the circle's diameter. Print out a test page.
Step 5: Prepare the Test Photograph
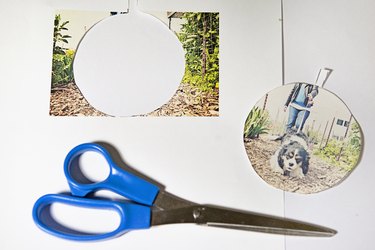
Use the circle you cut out as a stencil. Trace around the circle, with the photo you want to use inside the circle. Draw a notch on the top of the circle that is 1/4 inch wide by 1/2 inch high. This will serve as a stabilizer so the photo does not roll around. Cut out your picture, including the notch on top.
Step 6: Insert the Photograph Into the Clear Glass Ornament
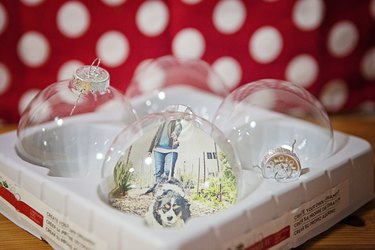
Remove the top and hook of the glass ornament. Roll the test photo and slide it into the ornament, with the notch in the opening of the ornament. Use tweezers to uncoil the picture if it doesn't do so on its own.
Step 7: Edit the Word Document as Needed
Resize the photo in the Word processing document if the test photo is too big or too small. Make a new test photo and stencil until you have the size you want. Remove the test photo from the glass ball.
Step 8: Print and Cut
When you've finalized the size you want, print the photo with the color printer onto transparency paper, according to manufacturer's instructions. Cut the transparency using your circle and notch as a stencil.
Step 9: Finish the Glass Photo Ornament
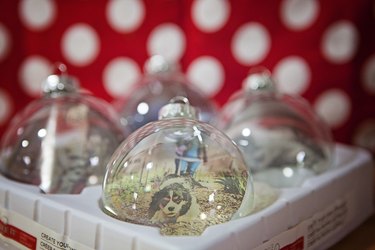
Coil and slide the transparency picture into the glass ornament. Replace the top and hook to finish your clear glass ornament with the photo inside.
Tip
If you don't have a digital photo, you can place the photo in a photo scanner and upload it to the computer. Otherwise, you can use your stencil and cut out the photo itself, coil it and place it in the glass ornament. However, it won't be transparent unless you print your photo onto transparency paper.
Warning
The top of the glass ball is often sharp. Be careful when sliding the pictures in and out. Keep glass ball ornaments high on the tree and out of the reach of children and pets.
Video of the Day