The items used to set up a stained glass studio vary depending on the type of projects you plan to make. There are a few different items required to build lead came stained glass that are not used for copper foil projects, but most of the basic tools are the same. Tools are required to make the pattern and cut, shape and assemble the glass. The work area should be large enough to safely assemble projects, as well as store the glass and tools.
Step 1
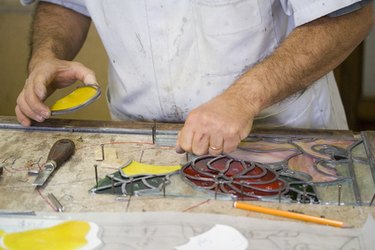
Set up a flat, stable work surface at a height that is comfortable for you to work at while standing, unless you can cut glass while sitting. A pre-made countertop from a home improvement store works well with a homemade base, or you can build your own workbench. A table works, as long as it will not wiggle when cutting glass.
Video of the Day
Step 2
Set up a safe location to store the glass. Glass should be stored upright at a slight angle rather than flat. A wooden box that is the right size to fit the largest pieces of glass you plan to buy works well with wooden slats installed 6 inches apart to support the glass safely at the top and bottom. Install the glass storage on the floor because glass is heavy.
Step 3
Purchase the basic items required to build stained glass. These include safety glasses, glass marker, glass cutter with oil, glass breaking pliers, glass grinder, flux, soldering iron, dust brush, dust pan and glass cleaning supplies. The design process requires a minimum of paper, pencil and scissors. You will also need solder, copper foil and glass, but you can purchase them for individual projects as the need arises. Many stained glass stores, both local and online, offer a beginner's kit for copper foil projects.
Step 4
Set up the grinder in an area on the work surface where water will not be a problem, because most stained glass grinders use water to lubricate the glass during grinding and to reduce glass dust problems. A plastic tub with low sides is helpful.
Step 5
Purchase a wood or homosote board on which the stained glass project can be assembled and held together during assembly with nails or pins. It is helpful for a project with straight sides and right angles to have a board with two straight edged pieces attached that form a right angle to build against.
Step 6
Install the work bench in a well-lit area or install extra lighting over the work bench.
Step 7
Ensure the area can be well-ventilated with a fan, fume extractor or open doors and windows while soldering.
Warning
Avoid using any table or surface that comes into contact with food. The chemicals used for stained glass are toxic when swallowed.
Video of the Day