Things You'll Need
Plastic storage container with clear lid
Scissors
White tissue paper
Clear tape
Box cutter
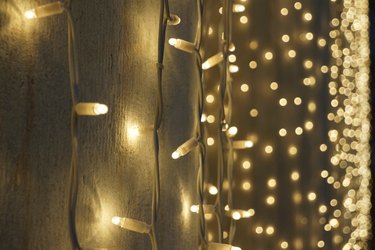
1 strand white LED Christmas lights
Clear plexiglass

A light box makes tracing your favorite designs easy – you can trace your designs directly onto thick, high-quality paper versus thin tracing paper. Rather than spending a significant amount of money on a store-bought light box, make your own DIY version using a few items you may already have in your home. The project onlys take a few minutes to put together.
Assembling the Light Box
Step 1
Remove the lid from the storage container. Cut a piece of tissue paper to fit the bottom side of the lid. Tape it into place.
Video of the Day
Step 2
Cut a hole in the side of the container, near the bottom, using a box cutter. Cut the hole large enough for the plug of the Christmas lights to fit through. Avoid making the hole too large to reduce light leaks.
Step 3
Lay the strand of Christmas lights in the bottom of the storage container. Spread them out as evenly as possible so the entire bottom of the container is covered in lights to ensure even light distribution.
Step 4
Push the plug of the Christmas lights through the hole in the container. Plug the lights in. Place the lid back on the container.
Step 5
Place a sheet of plexiglass on top of the container to provide a level drawing surface if the lid of your container has grooves or lettering on it.
Tip
For a more permanent box, replace the storage container with a wooden box, place the lights in the box and screw a sheet of plexiglass on top.
Under-the-counter strip lights and touch lights can be substituted for Christmas lights.
If your storage container has a clear bottom, painting it an opaque color will increase the intensity of the light box.
This box can scaled to a size appropriate for your needs by using a different size storage container, but try to find one with a shallow depth.
Rather than cutting a hole in the storage container, you can slip the end of the lights out of the top of the bin and close the lid on them. Just be sure to avoid putting too much pressure on the lid and damaging the light strand.
Warning
If using a light source other than Christmas lights, ensure that it doesn't get too hot. LED lights put off only a small amount of light and are well-suited for this project.
Video of the Day