Things You'll Need
Cardstock
Ruler
Pencil
Bone folder
Scissors
Craft glue or glue stick
Embellishments (optional)
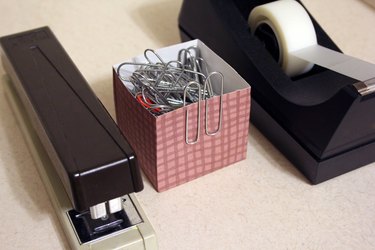
Organize small items on your desk or slide a small gift into a special box made with a little cardstock, ruler, scissors and glue. You can even personalize and embellish your box with stickers, paint, markers and sequins, and you can add a matching box top. Making your own boxes allows you to color-coordinate your storage or gifting.
Step 1
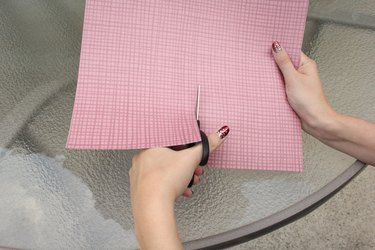
Cut a 6-inch square of cardstock.This will make a 4-inch square box that is 2 inches deep.
Video of the Day
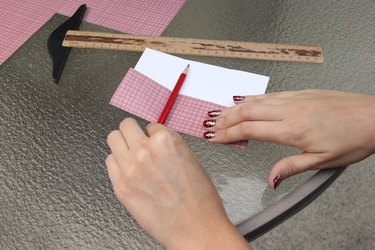
Step 2
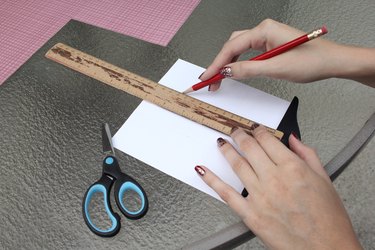
Measure 2 inches from the edge of the paper inward and draw a straight line. Repeat on the other three sides of the square.
Step 3
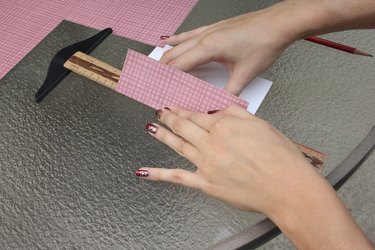
Score the lines by placing the bone folder on each one and folding the paper against the plastic. You can also use your ruler for this step.
Step 4
Crease the lines with the bone folder.
Step 5
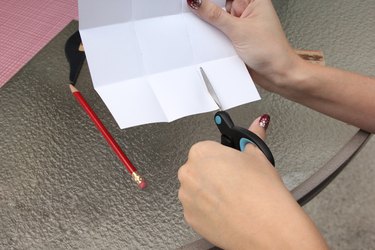
Cut along the fold from the left edge just to the fold running in the opposite direction. This makes a 2-inch slit and tab. Repeat so that you have slits on all four sides.
Step 6
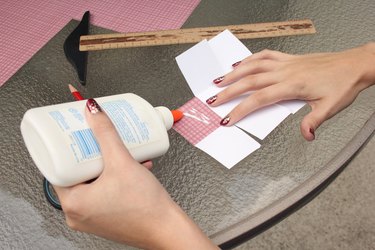
Apply glue to the back side of the tabs you made.
Step 7
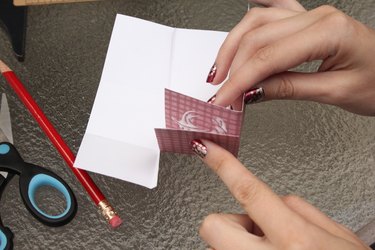
Refold the left side toward the center of the card and press the left tab to the inside of the card, starting to form a box shape. Repeat for the remaining three corners. Allow the glue to dry thoroughly.
Tip
A ruler with a metal edge makes scoring the folds easier.
Use paperclips to hold the glued corners in place until the adhesive sets.
Make the box lid in the same way, using 1/2-inch or 1-inch folds and tabs.
To make boxes in other sizes, decide how large a footprint you want and how deep you want the box to be. Add the depth measurement to the base measurements and mark a square or rectangle in that size. Then measure the depth and follow the same steps.
Protect your box from wear and tear by adhering clear contact paper to both sides of the paper or laminating it before you score the sides.
Paint the cardstock before assembly, or add embellishments afterward.
Video of the Day