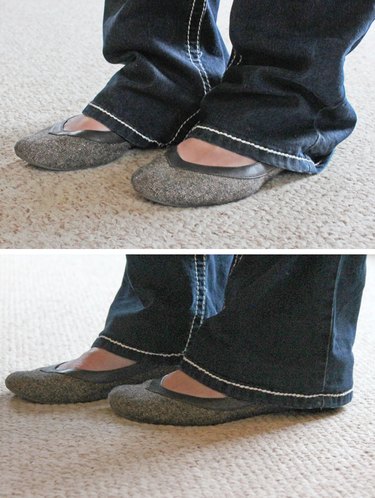
Many people end up with jeans that are too long in order to get them to fit correctly in the waist. However, when jeans are shortened, the new hem doesn't usually look quite as polished as the original one. To retain the authentic and stylish look of your jeans when shortening them, reattach the original hem. Watch the video tutorial on Youtube here.
Things You'll Need
Video of the Day
- Pins
- Measuring tape
- Sewing machine with a denim needle (110/18)
- Zipper foot (optional)
- Heavyweight thread the same color as the jeans
- Iron and ironing board
Video of the Day
Step 1
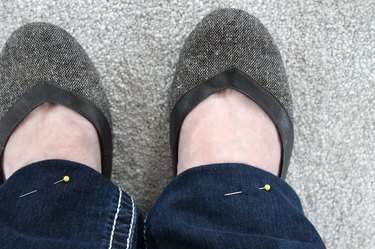
Tuck the hem of the jeans under and have a friend pin your newly desired length in place.
Step 2
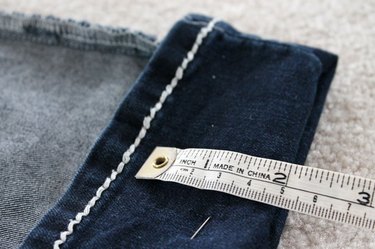
Leave the pins in place. Remove the jeans and turn them inside out. Measure from the top of the existing hem to the newly pinned fold. Divide that measurement in half. Remove the pins after measuring.
Step 3
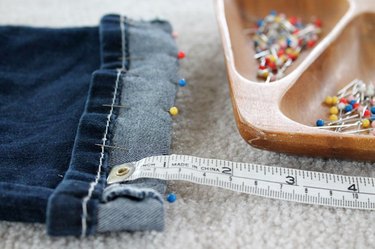
Turn the jeans right-side out, fold the hem up, and use the half measurement you calculated to pin the new hemline. For example, if you measured 2 inches from the top of the existing hem to the fold, your new hem will measure 1 inch from the top of the existing hem to the fold.
Step 4
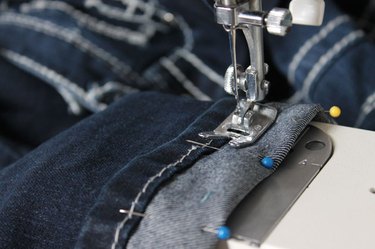
Use a denim needle (110/18) and a medium-length stitch to sew as close to the existing hem as you can. You can use a zipper foot for your machine if you have one, but a regular foot will work as well. Remove the pins as you sew.
Step 5
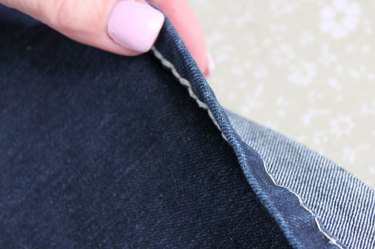
Tuck the new fold under the jeans so the existing hem is showing on the right side of the jeans.
Step 6
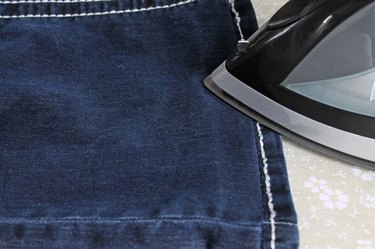
Press the new hem with a hot iron.
Finished Jeans With Original Hem
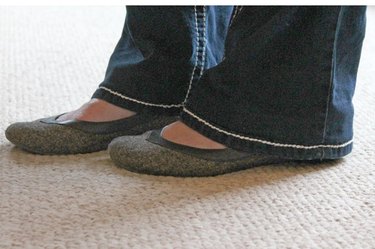
Jeans look much more genuine when they have the original contrast stitching on the shortened hem.