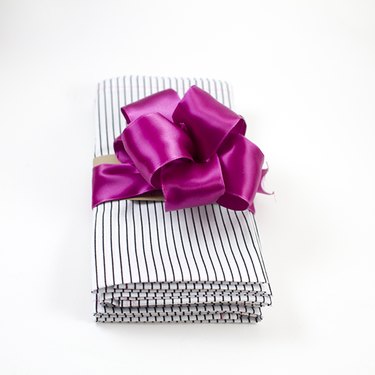
A multi-loop ribbon dresses up any craft of gift.
Image Credit:
Sara Budisantoso
A multi-loop bow is a great way to add a finishing touch to any gift or craft. It is fun and easy to make.
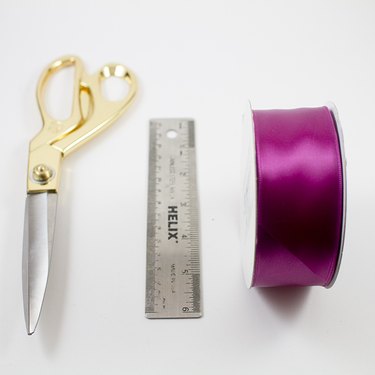
Things You'll Need
Video of the Day
Wire ribbon can also be used to make the bow.
Image Credit:
Sara Budisantoso
• Ribbon • Ruler • Scissors
Video of the Day
Step 1: Choose Your Ribbon
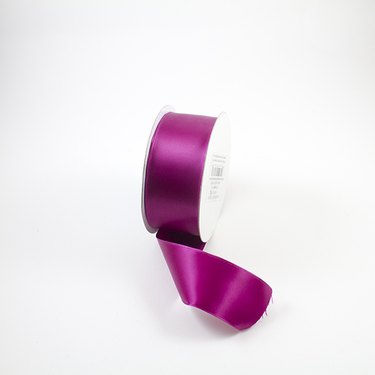
Choose the color based on your specific project.
Image Credit:
Sara Budisantoso
Choose the ribbon size and color for your gift or craft.
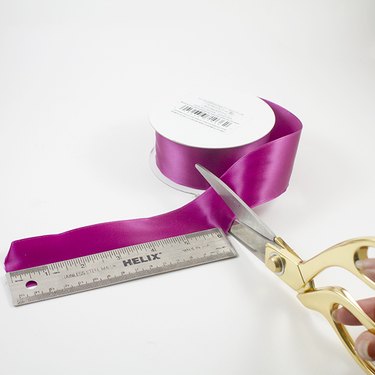
Step 2: Cut the Ribbon
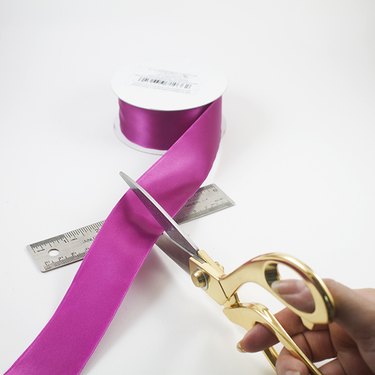
Cut the ribbon with sharp scissors.
Image Credit:
Sara Budisantoso
Cut your ribbon to 48 inches or the size of your preference using a ruler.
Step 3: Cut Additional Ribbon
The bow is held together with this piece of ribbon.
Image Credit:
Sara Budisantoso
Cut a 6-inch piece of ribbon using your ruler and set aside. This will be used later to hold the bow together.
Step 4: Fold the Ribbon
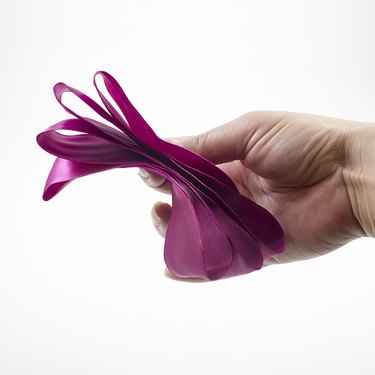
Hold the ribbon tightly to get the accordion shape.
Image Credit:
Sara Budisantoso
Fold your ribbon like an accordion.
Step 5: Cut a Notch and Tie
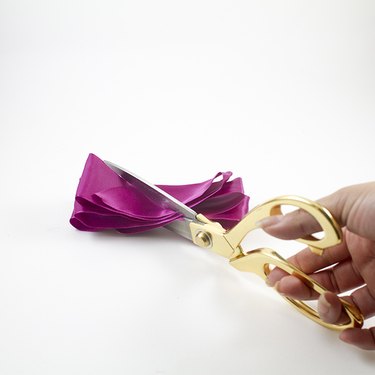
The bow is almost complete.
Image Credit:
Sara Budisantoso
With your scissors cut a diagonal notch on either side of the ribbon and tie a 6-inch ribbon piece around the notch to secure.
Step 6: Unfold the Loops
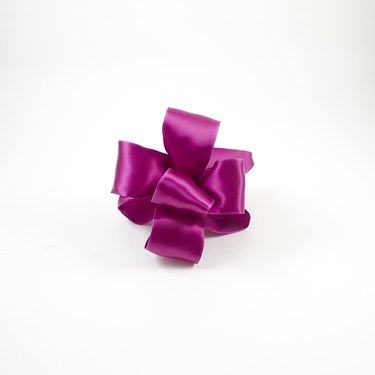
Shape the bow gently with your fingers.
Image Credit:
Sara Budisantoso
Unfold each loop of the ribbon to create a full bow.
references