Breast cancer is a nasty disease that affects not only women, but men as well. Most people know someone who has had breast cancer, or they have had it themselves. This is why it is important to raise awareness about this disease so that others can catch it early and so that money will be donated to efforts to find a cure for breast cancer.
Bra Purse
Video of the Day
A purse made from a bra is sure to get a few questions from strangers in public, making it a perfect opportunity to raise awareness in your community.
Video of the Day
To complete this breast cancer awareness craft, you will need a bra, scissors, hot glue or fabric glue and any decorations you want to add to your purse, such as ribbon fringe, rhinestones or beads.
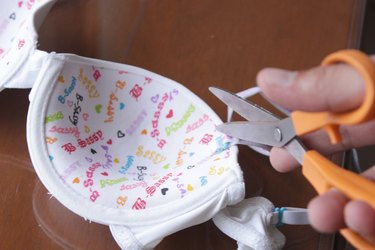
Cut off the back part of the bra right outside the cup, you should be left with the very front of the bra, from outside cup edge to outside cup edge. When you do cut off the back of the bra, leave the straps attached to the front of the bra and simply snip them from the back of the bra. Fold the bra in half, matching up the cups and glue them together, leaving an opening at the top so that you can get into the purse. Glue the loose end of the bra straps together at the ends for a longer purse strap, or back around to the other end of each individual strap for a clutch-style purse. Glue on your embellishments, and you are done.
Handmade Jewelry
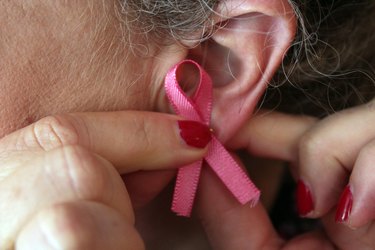
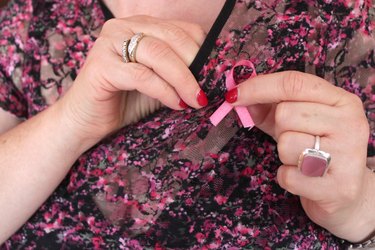
Breast cancer pink ribbon beads can be found at most craft stores and at various craft stores online. These beads, in combination with other beads, can be used to create homemade breast cancer awareness jewelry. You can make earrings, necklaces, bracelets and pins all to support the cause and to raise awareness.
Scrapbook

If you know a breast cancer survivor, or even someone who lost her battle with the disease, create a scrapbook telling about her life before her diagnosis. And if it's possible, you can also tell about her life after cancer. Breast cancer scrapbook paper can be found at most local craft stores and, if you can't find breast cancer-specific scrapbook paper, you can always just use pastel pink papers. The scrapbook can be used to raise awareness with friends and family and even strangers if you share it at breast cancer fundraising events.