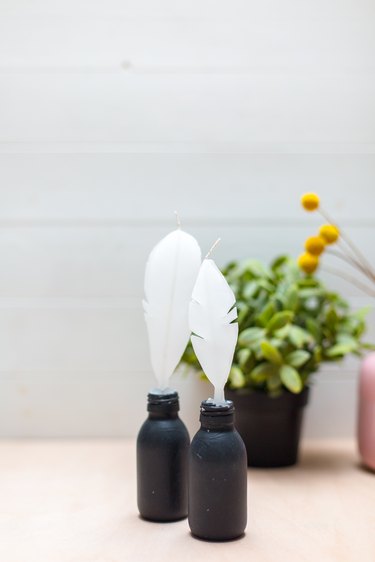
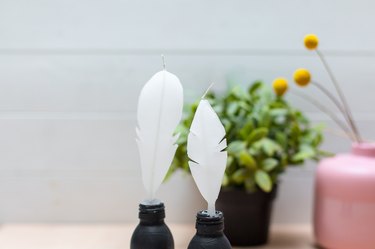
Candles are always a crowd pleaser. In the winter, they help create a warm, cozy atmosphere, and in the summer, they keep those long, lazy evenings going just a little bit longer. Whether you use them as a table decoration outdoors or place them around your home to create atmospheric lighting, I'm sure you'll agree, you can never have enough! These feather candles are so easy to make, and they're perfect for DIY weddings, summer barbecues and dinner parties that go late into the night.
Video of the Day
Watch the video tutorial
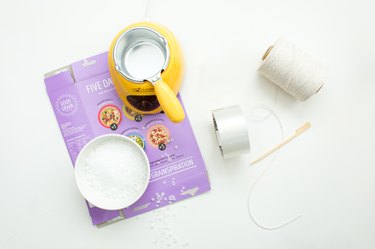
Things You'll Need
Wax
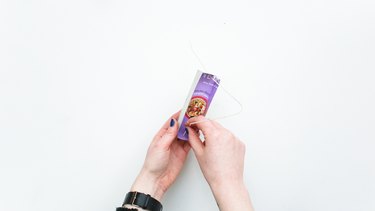
Cereal box
Cotton cord
Tape
Skewer
Retractable knife
Step 1: Make your mold
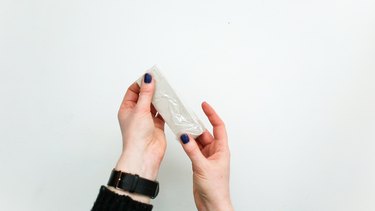
Cut out a rectangle from the cereal box, making it about an inch larger in each direction than the desired final candle size.

Then, cut a small square from each corner to create tabs.

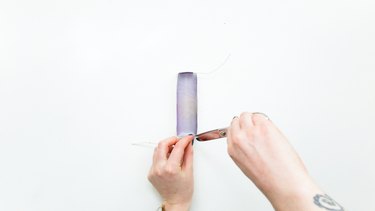
Fold each of the tabs inwards, and press the crease firmly. Then, position the tabs so they point upward, creating a shallow tray. Ensure the shiny side of the box is on the inside of the tray (this will help you remove the candle later on).

Cover the outside of the box in tape, making sure to seal all the gaps and joins.
Poke a hole in each of the shorter sides of the mold using a skewer, right in the middle of the tabs.

Step 2: Create the candle
Melt the wax, making sure there is enough to almost fill the cardboard tray. I used a fondue maker to melt the wax because it's a consistent, gentle heat source, but you can also melt the wax in 30 second intervals in the microwave or in a bain-marie (which is a heatproof glass bowl placed over a pan of water on the stove) to melt the wax until it's pourable.

Once the wax is completely melted, cut a section of cotton cord a few inches longer that the rectangle tray. Dip the cord into the wax, remove and leave for a few seconds to cool. Set aside.
Push either end of the waxed cord through the two holes in the tray and pull taught. Tape these down ensuring you cover the holes to seal them.
Place the tray onto a level, heatproof surface, and pour wax into the tray until just a quarter inch from the top. Leave this to fully cool.

Step 3: Shape the candle
Using scissors, snip the corners to open up the tray.
Fold down the tabs to leave a rectangle candle.

Use the sharp end of the skewer to trace out the shape of the feather onto the surface of the candle, leaving it thicker at the base (you can cut the base to the exact size of your candle holder later). Once you're happy with the design, cut around it using a knife. Be careful not to cut the cord until the end. When you've finished, trim the cord down to half an inch to create the wick.

Using the knife, carefully shave wax off the base until you can push it into the candle holder so it sits securely. Alternatively, you can melt a little more wax and pour that into the candle holder around the base to secure.