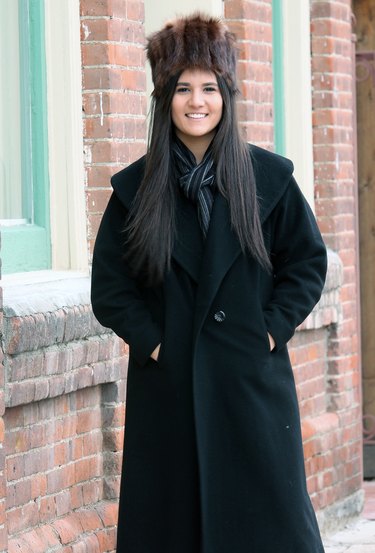
When it's cold outside, a warm hat is a must to keep you comfortable. But just because you're trying to stay toasty as the temperature dips doesn't mean that you have to sacrifice style for substance. Craft a half-yard of faux fur into a luxe hat — you can even repurpose a jacket that's seen better days — and you'll have an accessory that's equal parts practical and chic. Don't let a winter chill freeze out your sense of fashion, this hat will keep you looking elegantly cozy until spring.
Video of the Day
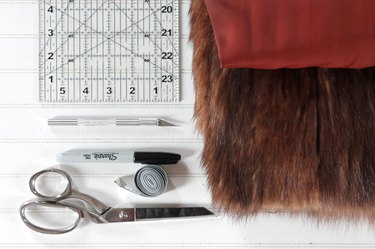
Things You'll Need
Measuring tape
Paper for pattern
Marker
1/2 yard of faux fur (or reclaimed jacket fur)
1/2 yard of lining fabric
Utility knife
Straight pins
100/16 sewing machine needle
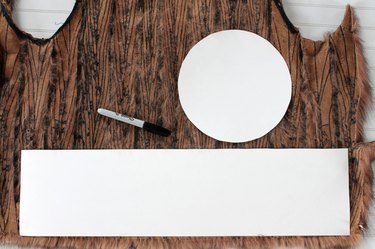
Step 1: Create the Pattern Pieces
To determine the size of your hat, first measure the circumference of your head. This measurement will be the length of the band. Then you'll need to do a little math to calculate the size of the crown. To determine the diameter of the crown, use this formula: C = πd, where C = circumference, π = 3.14 and d = diameter. So, for instance, if the measurement of your head's circumference is 22 inches, then your formula would look like this: 22 = (3.14)d. To determine the diameter, your equation would look like this: 22/3.14 = d. In this case, the diameter of the hat crown is 7 inches.
Video of the Day
Add an inch for seam allowances on each pattern piece. For example, if the circumference of your head is 22 inches and you'd like your hat to be 3 inches tall, then the width of your band will be 4 inches and the length will be 23 inches. If the diameter of the crown of your hat is 7 inches, then your pattern piece will be 8 inches in diameter. Create two pattern pieces from paper or cardboard with these measurements.
Step 2: Trace the Pattern Pieces
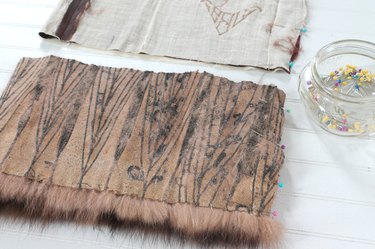
Place your pattern pieces on the wrong side of the fur and trace around them with a marker.
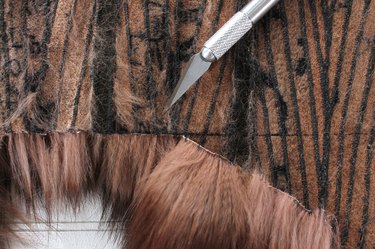
Step 3: How to Cut Fur
Cut out the fur pieces along the lines you marked. The proper way to cut the fur is from the back side using a utility knife — not a pair of scissors. Carefully cut the fabric and not the hair.
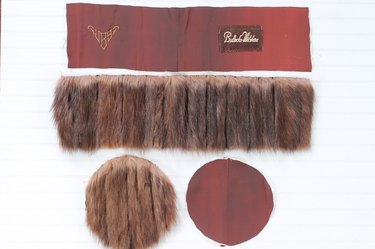
Step 4: Cut Band and Crown Pieces
Use your pattern pieces to cut out a band and a crown piece from your lining fabric, too.
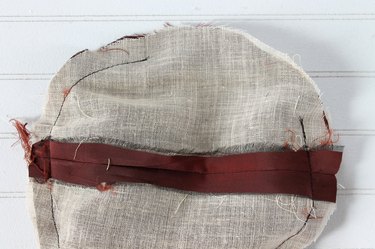
Step 5: Pin and Sew Side Seams of the Band
Fold the band pieces in half with the right-sides together, and then pin along the short sides. Sew a 1/2-inch seam allowance. Be sure to remove the pins as you sew. This seam will become the center back of your hat.
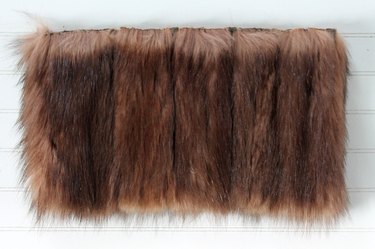
Step 6: Determine the Direction of the Fur
Before you pin the crown to the top of the band, you'll need to determine which direction you prefer the fur to lie. On this hat, the majority of the fur strokes downward toward the face. Meanwhile, the fur on the crown of the hat strokes back toward the center back seam.
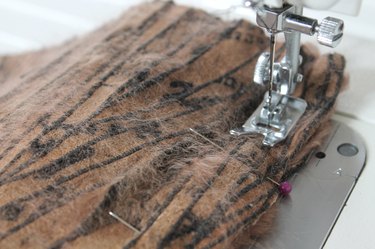
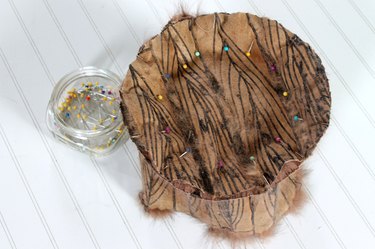
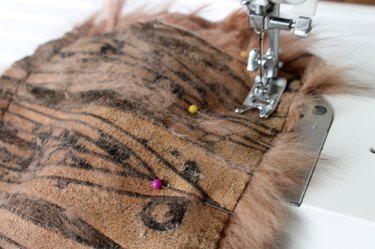
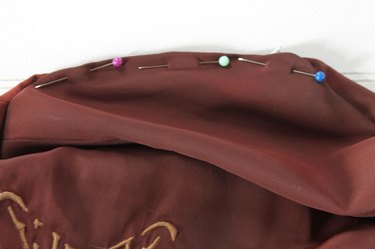
Step 7: Pin and Sew Crown to Band
With the right-sides together, pin the crown to the top of the band. Sew a 1/2-inch seam around the crown.

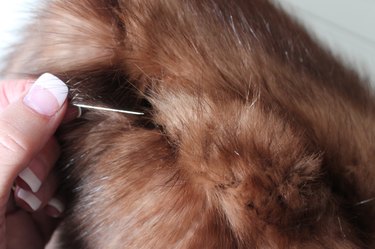
Step 8: Free the Fur Caught in the Seam
After sewing, turn the hat right-side out and use a straight pin to remove any of the hair that is caught in the seam.
Step 9: Leave an Opening in the Lining
Repeat step 7 with the lining fabric but leave a 5-inch opening in the seam.
Step 10: Place the Lining Inside the Fur and Sew
With the lining right-side out and the fur wrong-side out, place the lining piece inside the fur piece. With the right-sides together, pin and sew a 1/2-inch seam along the raw edge.
Step 11: Turn the Hat Right-Side Out
Turn the hat right-side out by pulling it through the opening in the lining.
Step 12: Pin and Sew the Opening
Tuck the raw edges of the opening in to pin and sew.
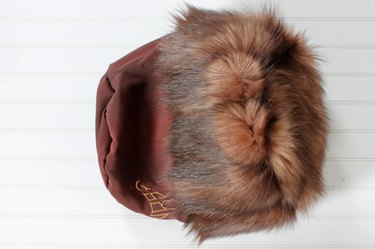
Step 13: Tuck the Lining Inside the Hat
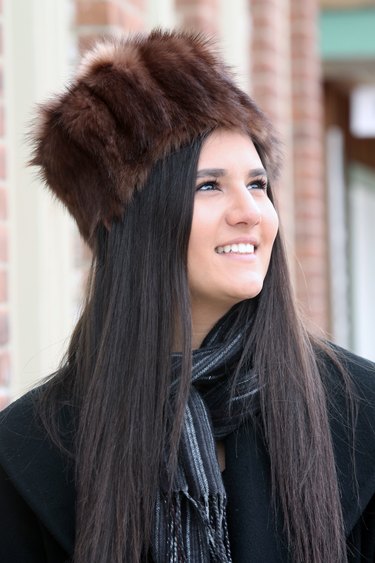
Tuck the lining inside the hat, and you're ready to stay warm while looking glam and sophisticated.