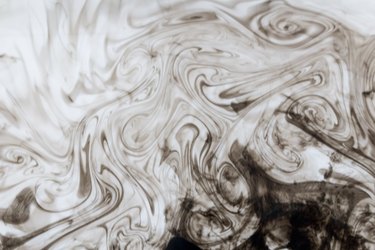
Suminagashi is one of the earliest forms of marbling. Loosely translated, it means "floating ink" and is often referred to as paper marbling. It is a process wherein inks are applied to the surface of the water with tapered brushes. The ink floats and the water urges the spots of color into concentric bands.

Video of the Day
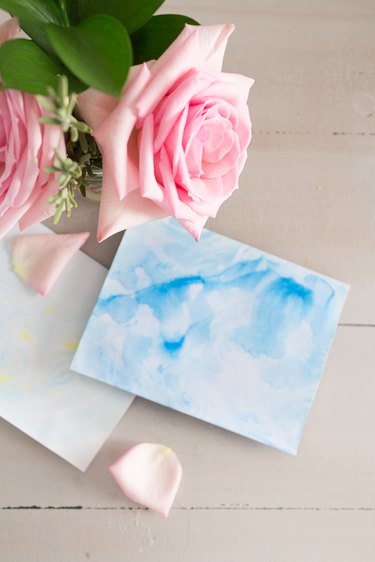
You have the option of using one color, or multiple - whatever you prefer - with each piece yielding beautifully unique and one of a kind results.
Video of the Day
Things You'll Need
Ink (you can purchase specialized marbling inks, however we used regular Chinese ink)
Water
Paint brush
Mixing tray
Shallow tray/pan
Paper
Paper towel
Small container with soapy water
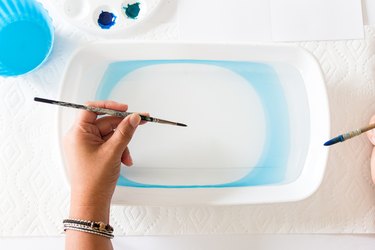
Step 1
Fill a shallow pan with approximately 2 inches of water. Dip a paint brush into your ink color of choice and then slowly lower the brush onto the surface of the water, being careful to not submerge the brush into the water. The longer you hold the brush along the water surface, the larger the ring will be.
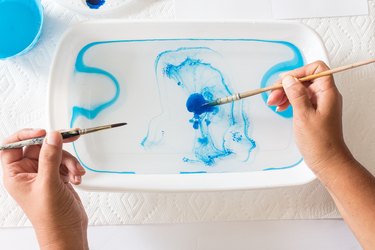
Step 2
Take a second paint brush and dip it into the soapy water and then gently touch the surface of the water with the brush. The soapy water will push the ink towards the outside of the pan leaving a white circle in the middle.
Step 3
Continue this process, alternating between ink and soapy water.
Step 4
You can gently blow the water or tap the surface the pan is sitting on to move the ink around the water.
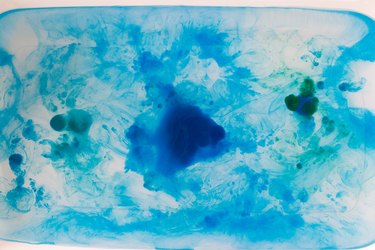
Tip
Note the large 'blobs' of ink at the bottom of the water are from dipping the brush too far into the water. It's important to remain as close to the surface as possible.
You can also use a toothpick to gently move the ink in various directions and form interesting lines.
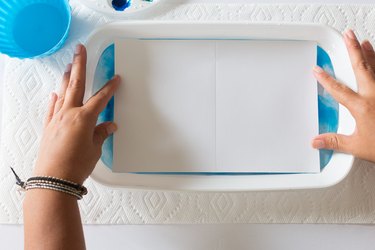
Step 5
Gently place your paper over the ink, making sure the entire area is touching the water.
Step 6
Lift the paper out of the water and place onto a paper towel to absorb some of the water.
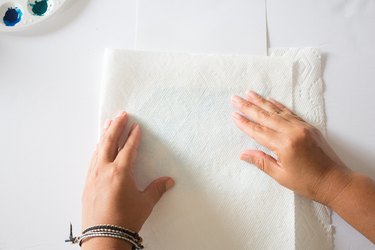
Step 7
Place paper on dry paper towel.
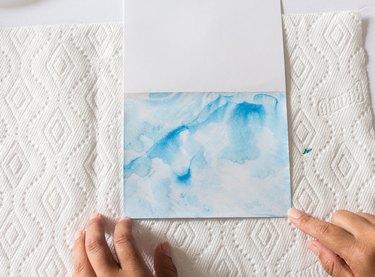
Step 8
As paper tends to buckle when it has gotten wet, after using paper towel to absorb some of the water, you can either place your imprinted paper under a heavy book to flatten it, or allow it to air dry and then iron.

This marbling technique is a great activity to try with kids of all ages. Younger kiddies will enjoy the variations of their results, while older kids can use their craft as invitations or stationary.
Note: for younger children, you can substitute pieces of yarn for the paint brushes as it may be an easier tool for them to utilize.