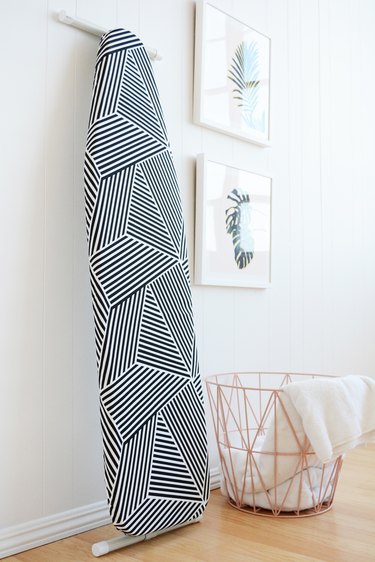
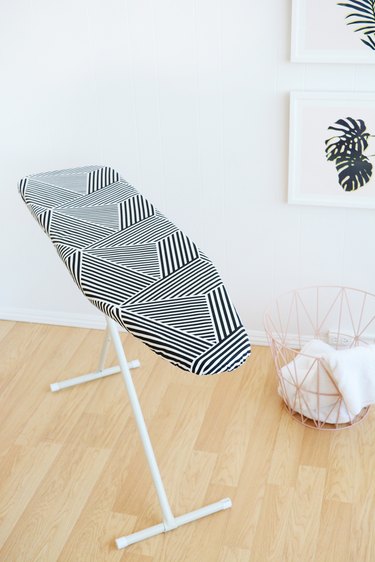
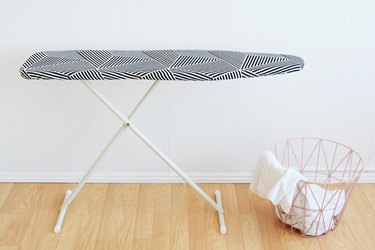
Have you ever tried to find a stylish or even cute ironing board cover? I recently made some updates to my laundry room and I wanted a new cover that would look good in the room. And all I could find were florals and bland, boring neutrals. So, I decided I needed to make my own. This way I could pick fabulous fabric that I'd happily display in my laundry room.
Video of the Day

And really this is a pretty great novice sewing project. So, if you only sew straight lines and have never followed a pattern before, this is a great project for you to try.
Video of the Day
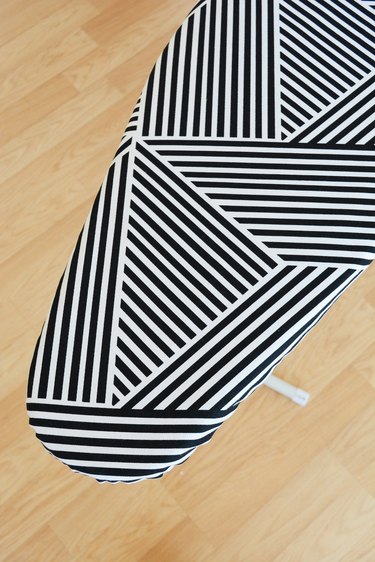
I chose a fun graphic black and white fabric for my new cover.
Things You'll Need
2 yards of FUN fabric
2 yards of 100% cotton quilt batting
White thread
Pins
Fabric scissors
Ruler
Sharpie marker or fabric pen
Sewing machine
3 yards of nylon cording (found in the curtain notions section of the fabric store)
1 plastic toggle
Ironing board
1 yard of 1" sew-on velcro
This pattern and the easy-to follow-instructions are designed to work with any size ironing board. You will need your ironing board to cut the pattern for the cover.
Step 1
Start by laying out the cotton batting on the floor. Lay the ironing board down on top of it and center it on the batting, leaving at least 2 inches all the way around the board.

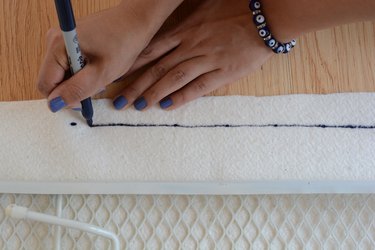
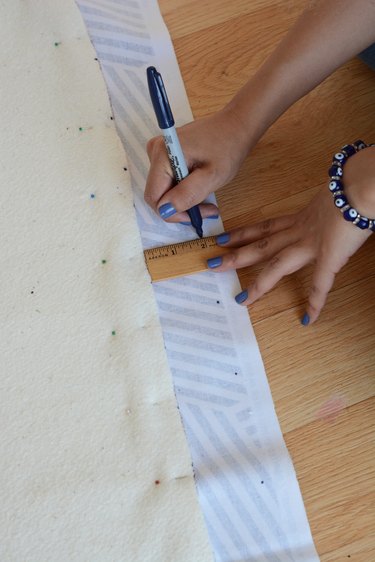
Step 2
With a ruler and marker, mark 2 inches from the board every couple of inches all the way around the board. Just a dot will do.

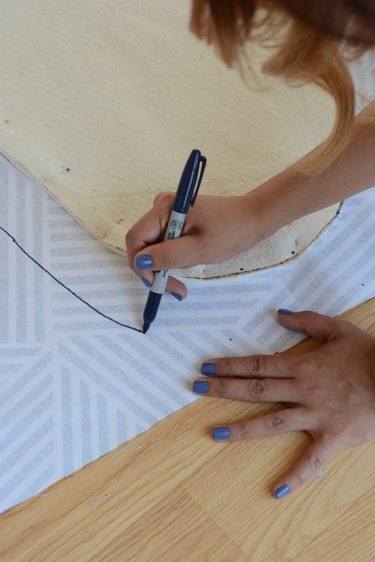
Step 3
Play dot-to-dot and join all the dots together.
Tip
Invest in good fabric scissors and only use them to cut fabric. Nothing is worse then trying to cut fabric with dull scissors.
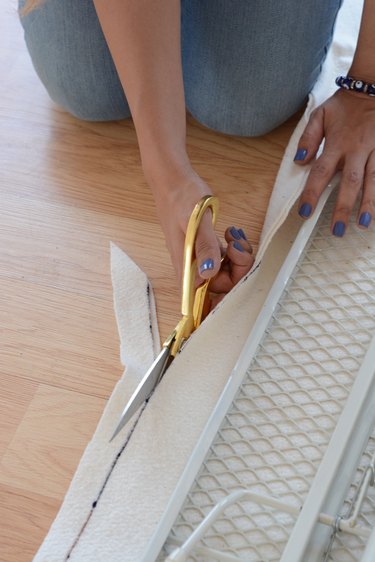
Step 4
Cut out the batting.
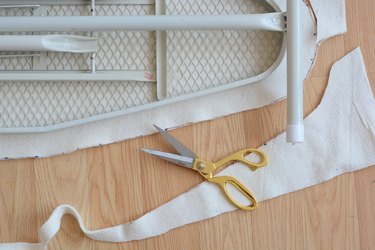
Step 5
Now lay out the fabric, good side down, and place the cut batting on top of the fabric. Make sure to leave 2 inches all the way around the batting. Pin the batting to the fabric.
Step 6
Mark every 2 inches all the way around the fabric, just like you did with the batting.
Step 7
Play dot-to-dot again!
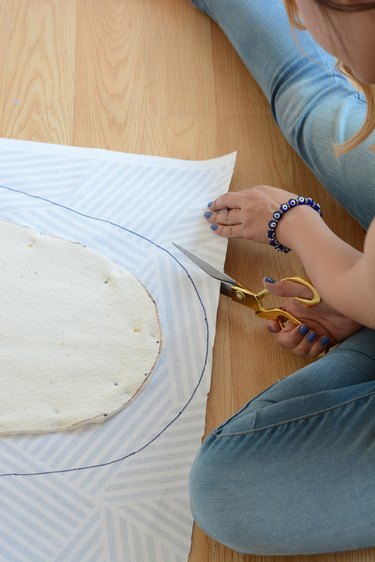
Step 8
Now cut out the fabric.
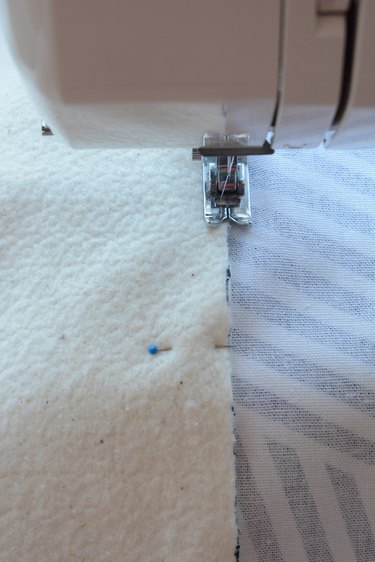
Step 9
Leave the batting pinned to the fabric and zigzag stitch all the way around the batting edge. Then remove all the pins.
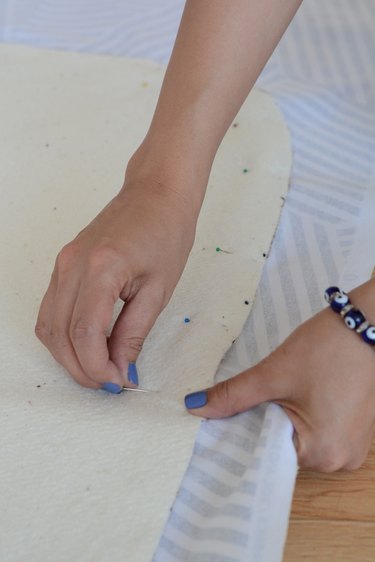
Step 10
Place the fabric good side down again. Turn the fabric over 1 inch.
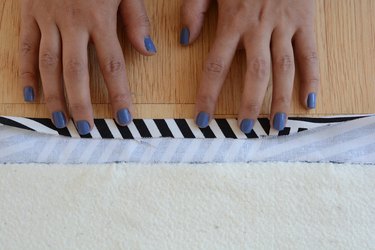
Step 11
Then fold it over another inch and pin it down. The turned edge should be just up against the batting. Pin all the way around the cover.
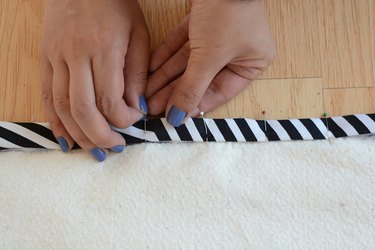
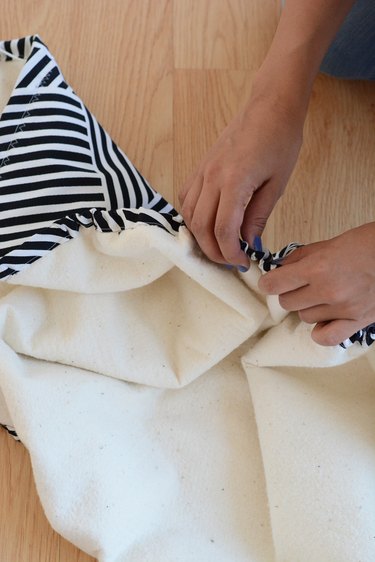
Step 12
The corners will be a little tricky. You will need to make little tucks to curve the corners. Just pin the tucks so that they lay flat.
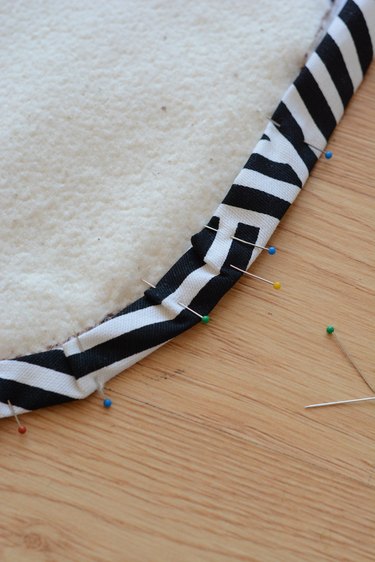
Step 13
With the sewing machine, stitch all the way around the tube you have created. Stitch as close to the fold as possible. Leave a 3-inch opening at the end of the ironing board. Back stitch on either side of the opening to reinforce the opening.

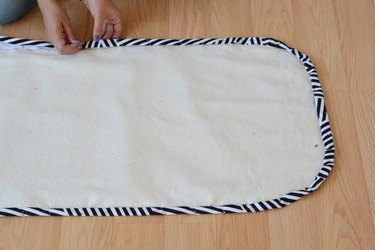
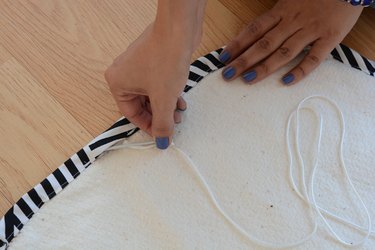
Step 14
Using a bodkin (really just a big blunt plastic or metal needle, but super handy for threading), thread the nylon string all the way around the cover.
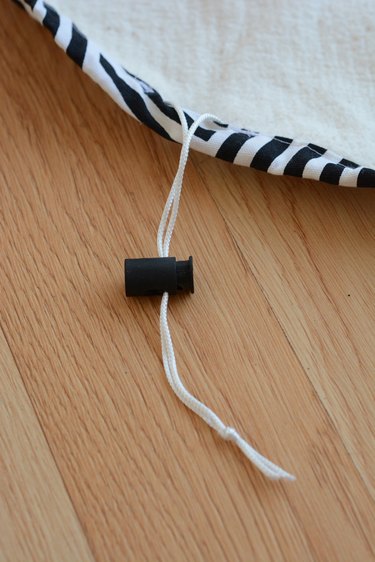
Step 15
Add a plastic toggle and tie off the end of the string.
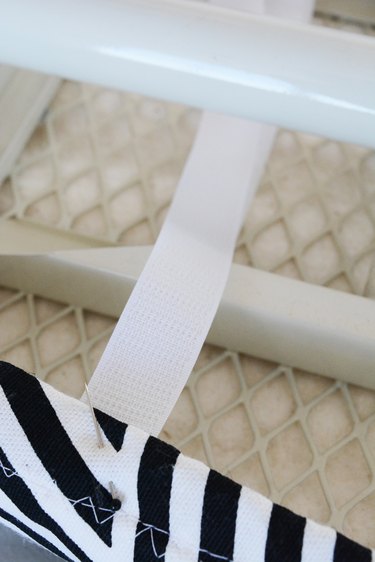
Step 16
Add two straps of velcro to the sides to ensure that the cover stays put and tight across the ironing board. Place one pair closer to the front of the board and the other near the end. It's important to put the cover on the board before pinning the velcro in place. You want to make sure that the velcro will not be in the way of the legs to the board. Once you have the velcro pinned in place, stitch on the velcro using the sewing machine. Sew back and forth at least four times to make sure it can handle the tension of being pulled across the board.
Step 17
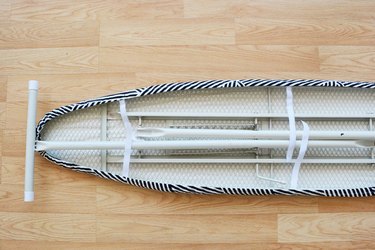
Put the cover on your ironing board, pull the drawstring tight and velcro the straps.
Happy ironing!