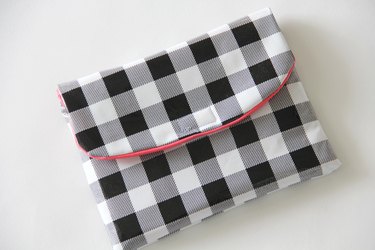
There's nothing worse than splashing water on your electronic device. We've all experienced that suspenseful moment of waiting to see if your smart phone will still work — gah, it's the worst! In a world where most of us use eReaders to download our favorite books, it puts us in a bind when it comes to poolside reading. After all, what good is going to the beach if you can't bring your favorite book along? Or Instagram that beautiful, sunny day? This summer, you can make a water-resistant oilcloth case for your iPhone or iPad to help protect it from the elements. It's a step up from a basic sealable plastic baggie, and it will help keep your devices safe and splash-free.
Video of the Day
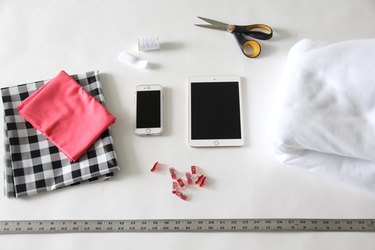
Things You'll Need
1/2 yard oilcloth
1/2 yard woven fabric
Cotton batting or fleece
Binder clips
Ruler
2-inch piece of velcro
Coordinating thread
Fabric scissors
Heavy-duty universal point sewing needle
Sewing machine
Tip
Sewing with oilcloth can be tricky, but these DIY protective cases are sewn in such a way that the oilcloth will never be directly against the bottom of the presser foot, so you do not need to worry about the oilcloth "sticking" to the machine.
Step 1: Measure Your Device
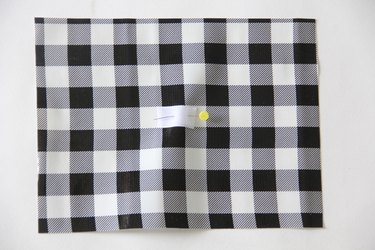
Use a ruler to measure the height and width of your electronic device, and then add 2 inches to each measurement. This will be the length and width of your main pattern pieces.
Video of the Day

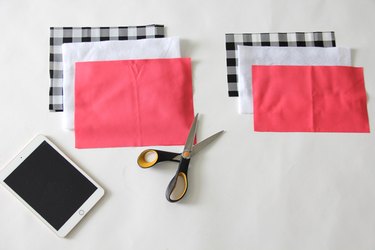
Step 2: Cut Out Pattern Pieces
Cut out two main pattern pieces from your oilcloth, woven fabric and batting based on the height and width measurement plus 2 inches. To cut the protective case flap, determine what three quarters of your width measurement is. Cut one flap pattern piece the total length by 3/4 width from oilcloth, woven fabric and batting.
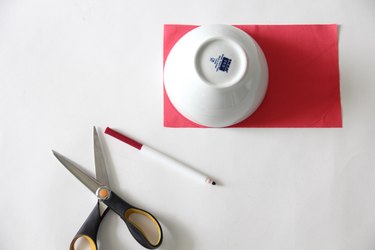
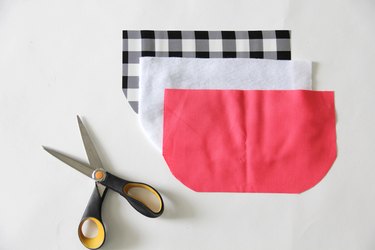
Using a bowl or other circular object, trace around the bottom side corners of the flap pattern piece. Cut based on the curved line and repeat for oilcloth, woven lining and batting.
Step 3: Attach Batting to Lining
Lay the batting on a flat surface, and place the woven fabric directly on top with the wrong side against the batting. Smooth out any wrinkles from the fabric and pin around the edges. Baste-stitch 1/8-inch away from the edges to help secure in place. If you happen to be using iron-on batting, follow the instructions on the batting to adhere. Repeat for both the main pattern pieces and the flap.

Step 4: Sew Velcro to Main Pattern Piece
Detach the velcro, separating the hooks and loops. Place one side of the velcro on the direct middle of one main piece of oilcloth on the right side. Pin the velcro to the oilcloth, and sew a rectangle around the velcro using a straight stitch.
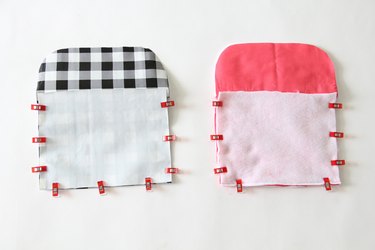
Step 5: Sew Flap to Main Pattern Piece
Pin the bottom straight edge of the flap to the top edge of one main pattern piece, right sides together. Sew using a 1/2-inch seam allowance. Trim seam allowance to 1/8-inch to help reduce bulk. Repeat for oilcloth exterior and lining. This will become your back pattern piece.
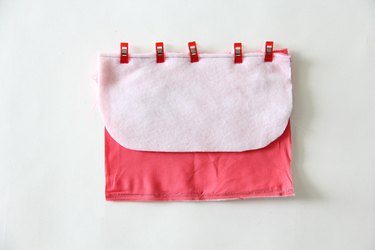
Step 6: Sew Front and Back Together
Trim 1/2 inch from the top of the front main pattern piece. Flip the back flap upwards, and pin the front and back main pattern pieces right sides together along the sides and bottom. Leave a 4- to 5-inch opening along the bottom of the lining when pinning. Sew around, using a 1/2-inch seam allowance, being sure to leave the opening in the bottom lining. Trim seam allowance to 1/8-inch to reduce bulk.
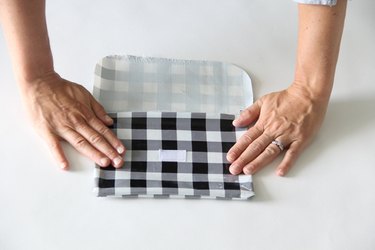
Turn oilcloth right sides out using your fingers to push out corners. Do not iron oilcloth, as you do not want to melt the fabric. Simply press and smooth the fabric with your hands. You can iron the woven lining and batting, if desired.
Step 7: Sew Lining to Flap Exterior
With the oilcloth right side out, slip the lining wrong side out around the oilcloth matching up the side seams. (They should be right sides together.) Pin around the upper edge and flap. Sew around, pivoting the needle at the corners, using a 1/2-inch seam allowance. Trim seam allowance to 1/8-inch when finished.

Pull case right side out through the opening in the lining and push out corners using a blunt object or your finger. Pin lining opening closed and sew using an edge stitch or whipstitch. Push lining inside of case.

Step 8: Sew Velcro to Flap
Fold the case flap down and determine where the velcro meets on the flap. Pin opposite piece of velcro to the lining of the flap. Sew around the velcro in a rectangle using a straight stitch to secure.
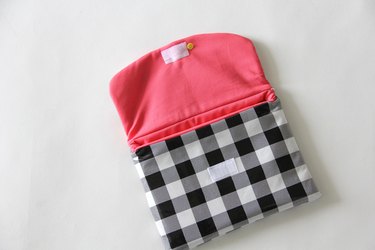
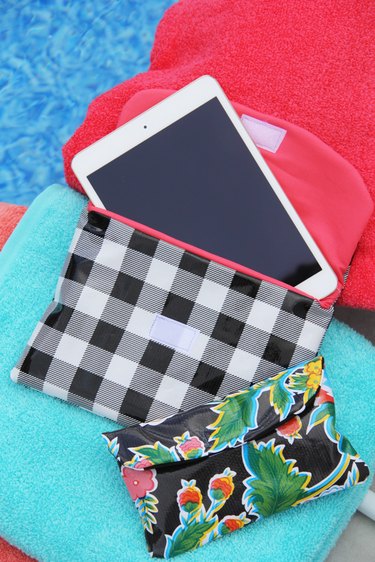
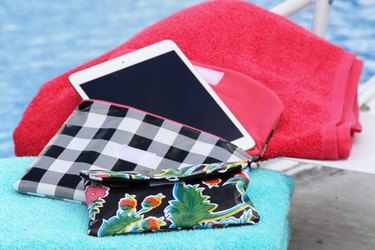
Insert your device, fold flap down, and head to the pool or beach! The padding will add a little protection from the device banging around in your bag and the oilcloth will help protect it from splashing water.
Tip
Worried about the PVC coating sometimes found in oilcloth fabric? Organic cotton laminates are a good alternative!